Mass painting. Boring? Tedious? Yeah, but ultimately if you play war games you’ll be needing to paint
lots of troops and quickly so you can play your game without having to wait a year or two.
Some dip, some slap and although miniatures don’t cost the earth, wrecking £20 plus of metal is just
not right.
This tutorial will (hopefully) serve as an aid to paint mass troops in a way that is pleasing to the eye
and quick enough for you not to disappear from the sight of your loved ones and friends for a few
months.
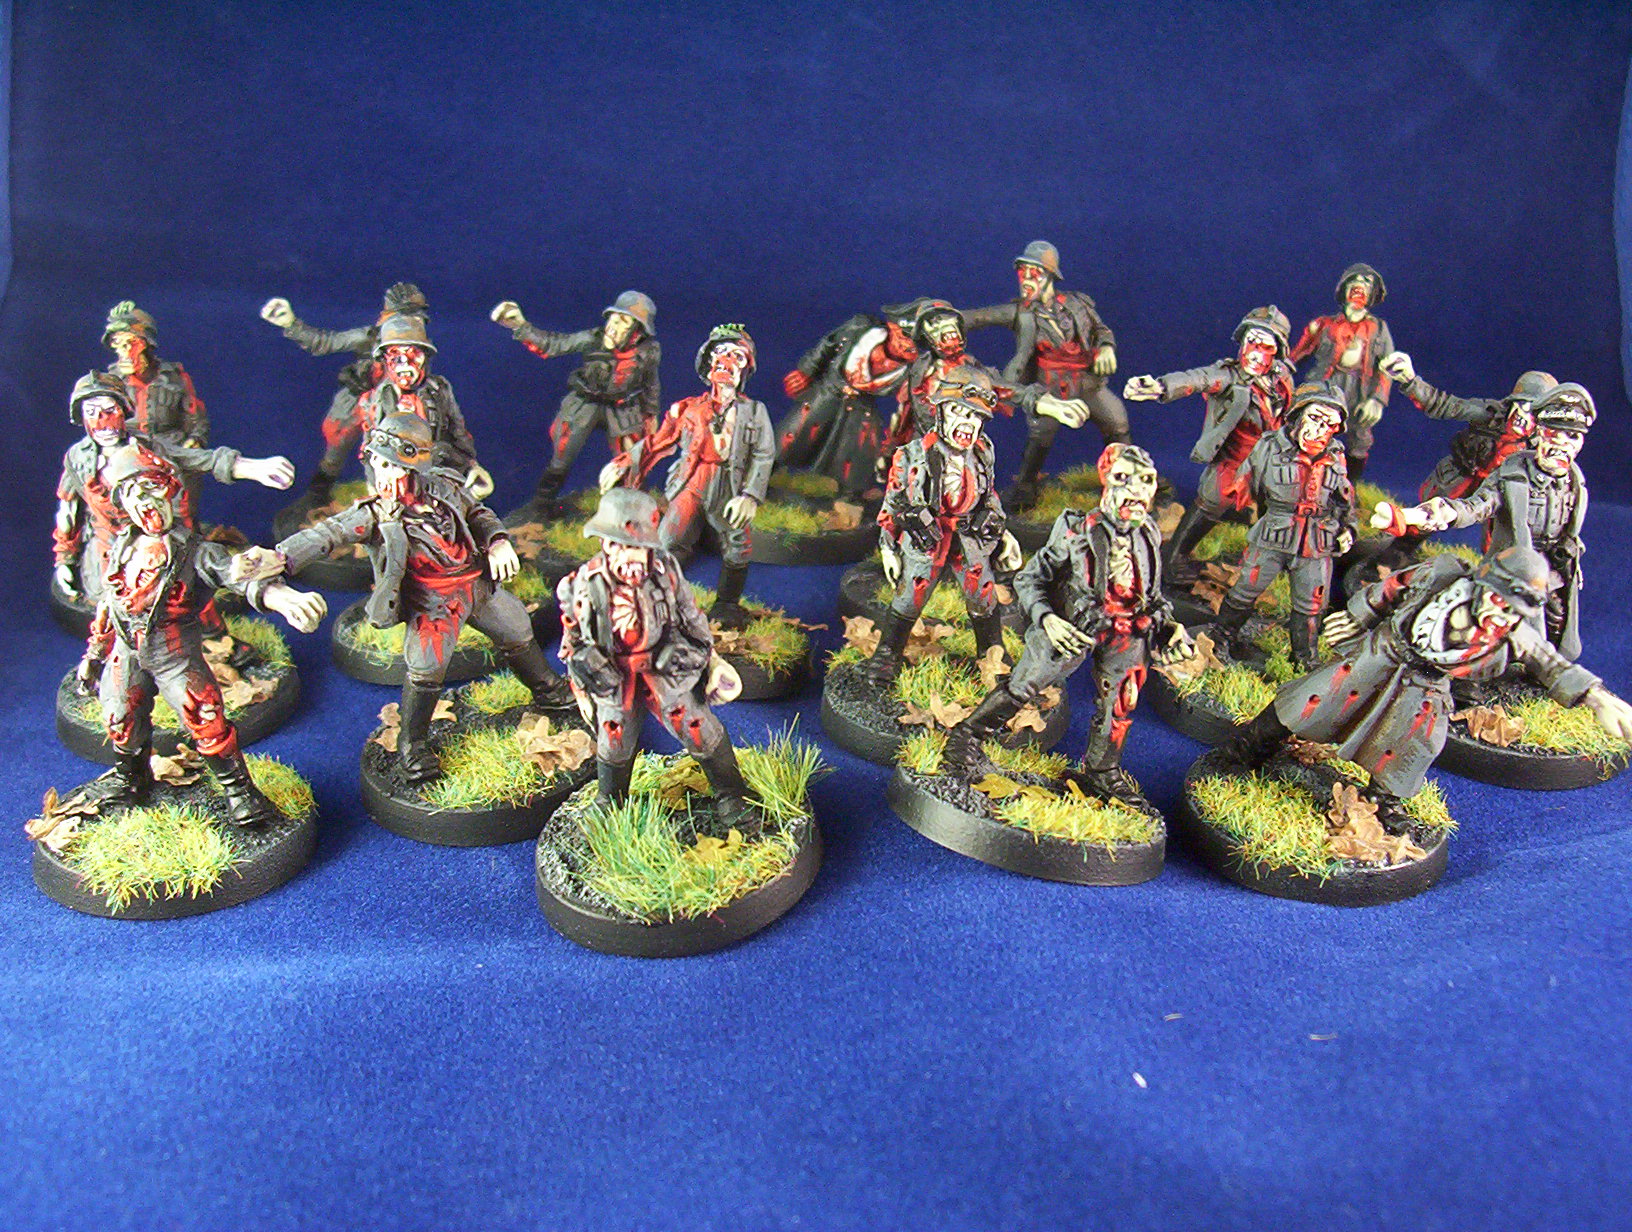
Although this technique will work with any troops, in this issue we’ll be dealing with the new Secrets
Of The Third Reich zombies from West Wind productions.
They are a perfect subject for mass painting. The SHS or separate head system means that not all of
your zombies will look the same, but what we are trying to achieve here is a consistent and quick way
to paint troops of a similar kind all in one go.
Things
Firstly here is a list of things you will need.
Brushes ranging in size from 00 to 2
A selection of quality paints.
For these figures I used the following.
Dead flesh, mid grey, dark grey, black, white, dark red, bright red, purple, brown ink, green and red ink.
Black spray paint.
Super Glue.
Files.
Clean water and tissue.
Preparation
In many tutorials for mass painting you’ll be advised to paint troops in manageable chunks of five or
so. This is really conning you into believing you have less to paint than you actually do. If you have
20+ miniatures to paint you still have 20+ to paint no matter how many lumps you divide them into.
By far the quickest way I’ve seen, and actually have painted, large groups of mini’s is by doing every
stage needed to all the models at the same time. This means less messing about and you don’t have
to go backwards and get your files, glue and spray out again after finishing the first five.
Getting it all done in one go speeds things up and saves table space if your working area is limited.
It also keeps you focused on the stage at hand instead of thinking about going backwards. You can
then look forward to the next step and being closer to finishing all the little buggers.
So, without further ado, let’s get gluing and filing.
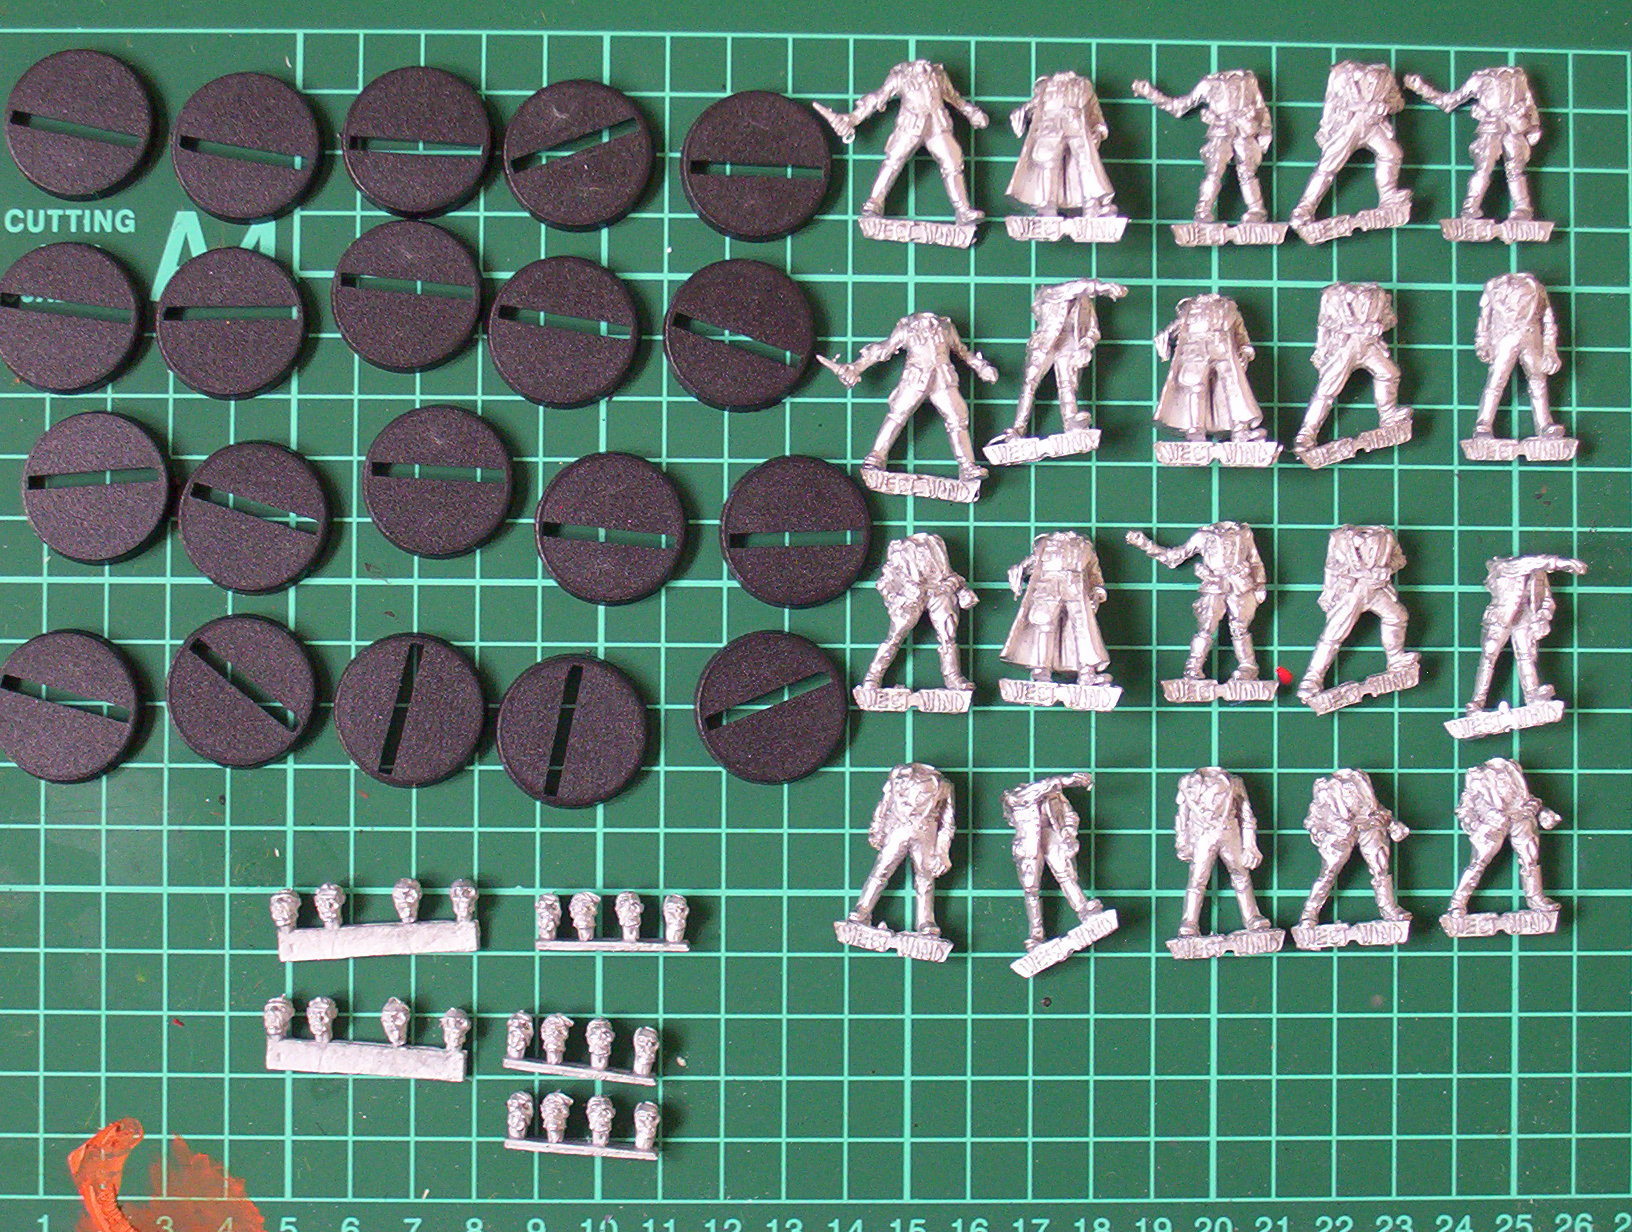
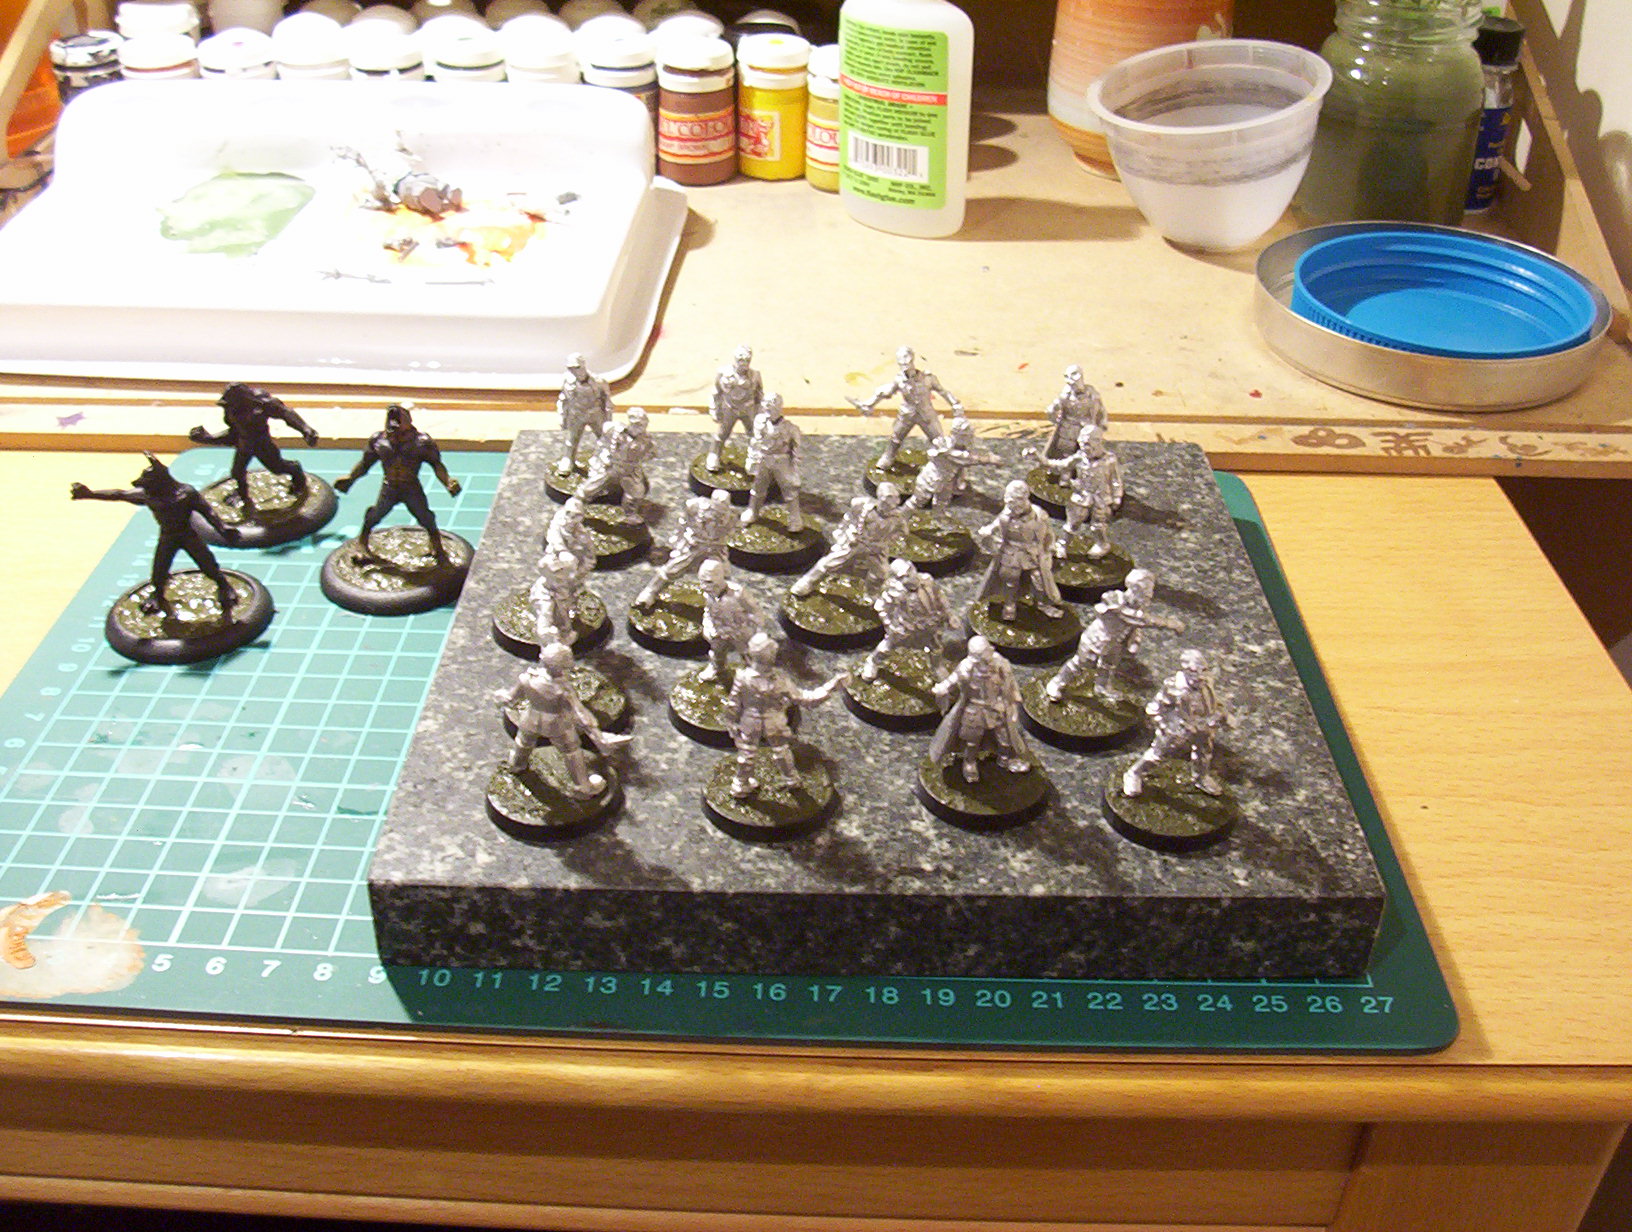
Step one. Gluing, filing, basing and undercoat.
Get everything out of the packaging and have a good look at the mini’s you’re going to be painting.
Try to pre define what area’s are what. Is it cloth, skin or armour?
This process will save you time later as you will know what colours to paint the various bits on your
models.
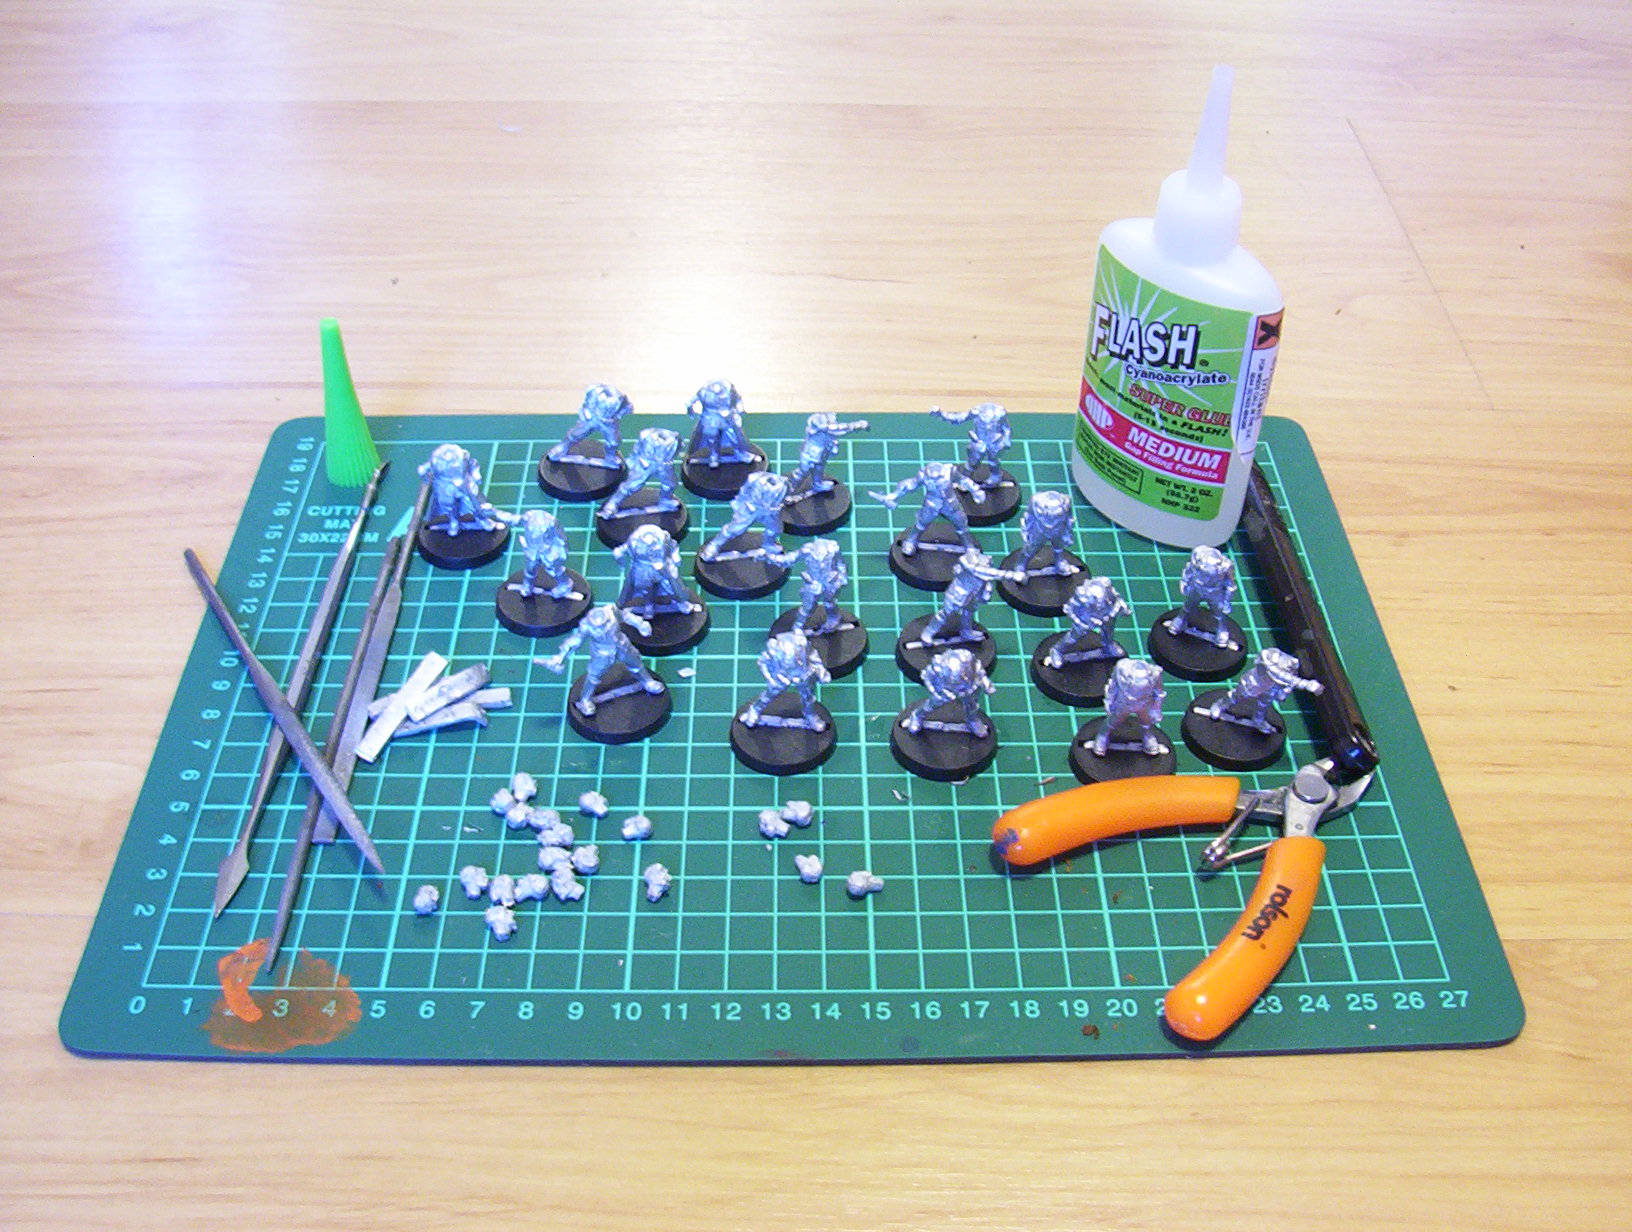
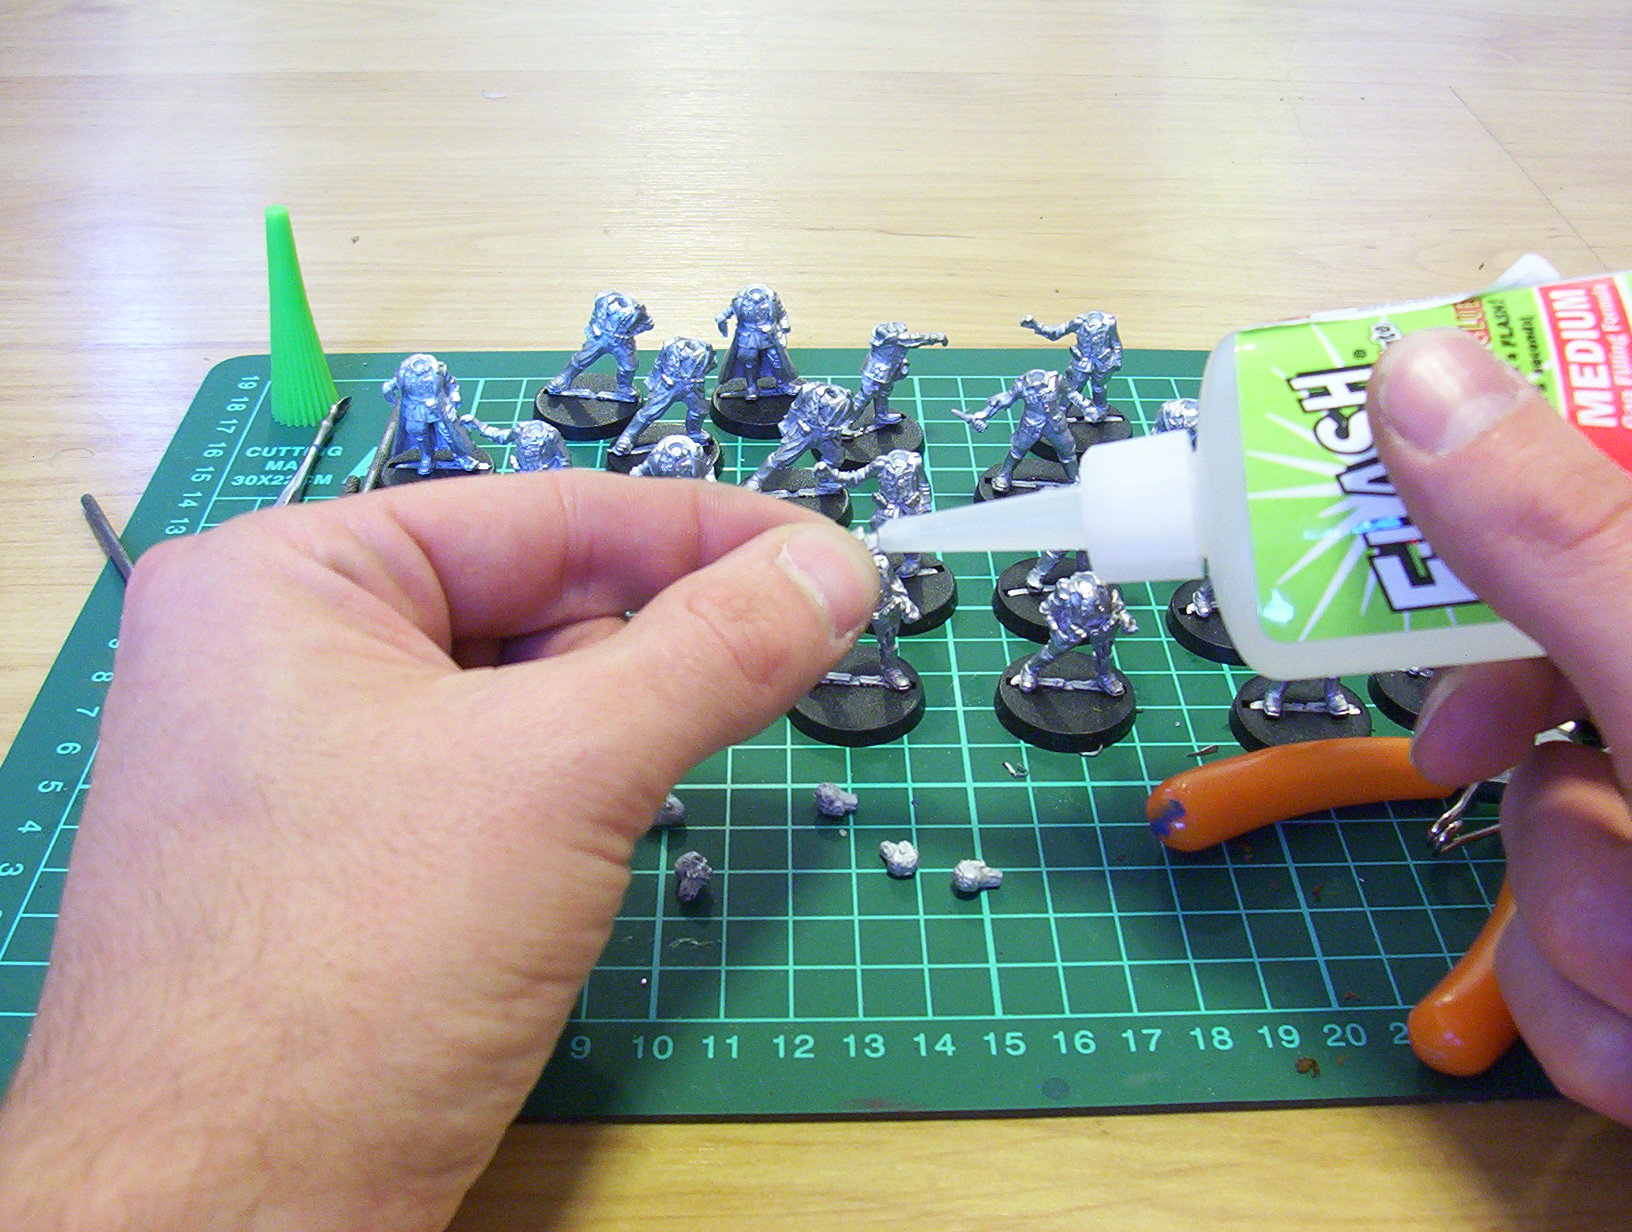
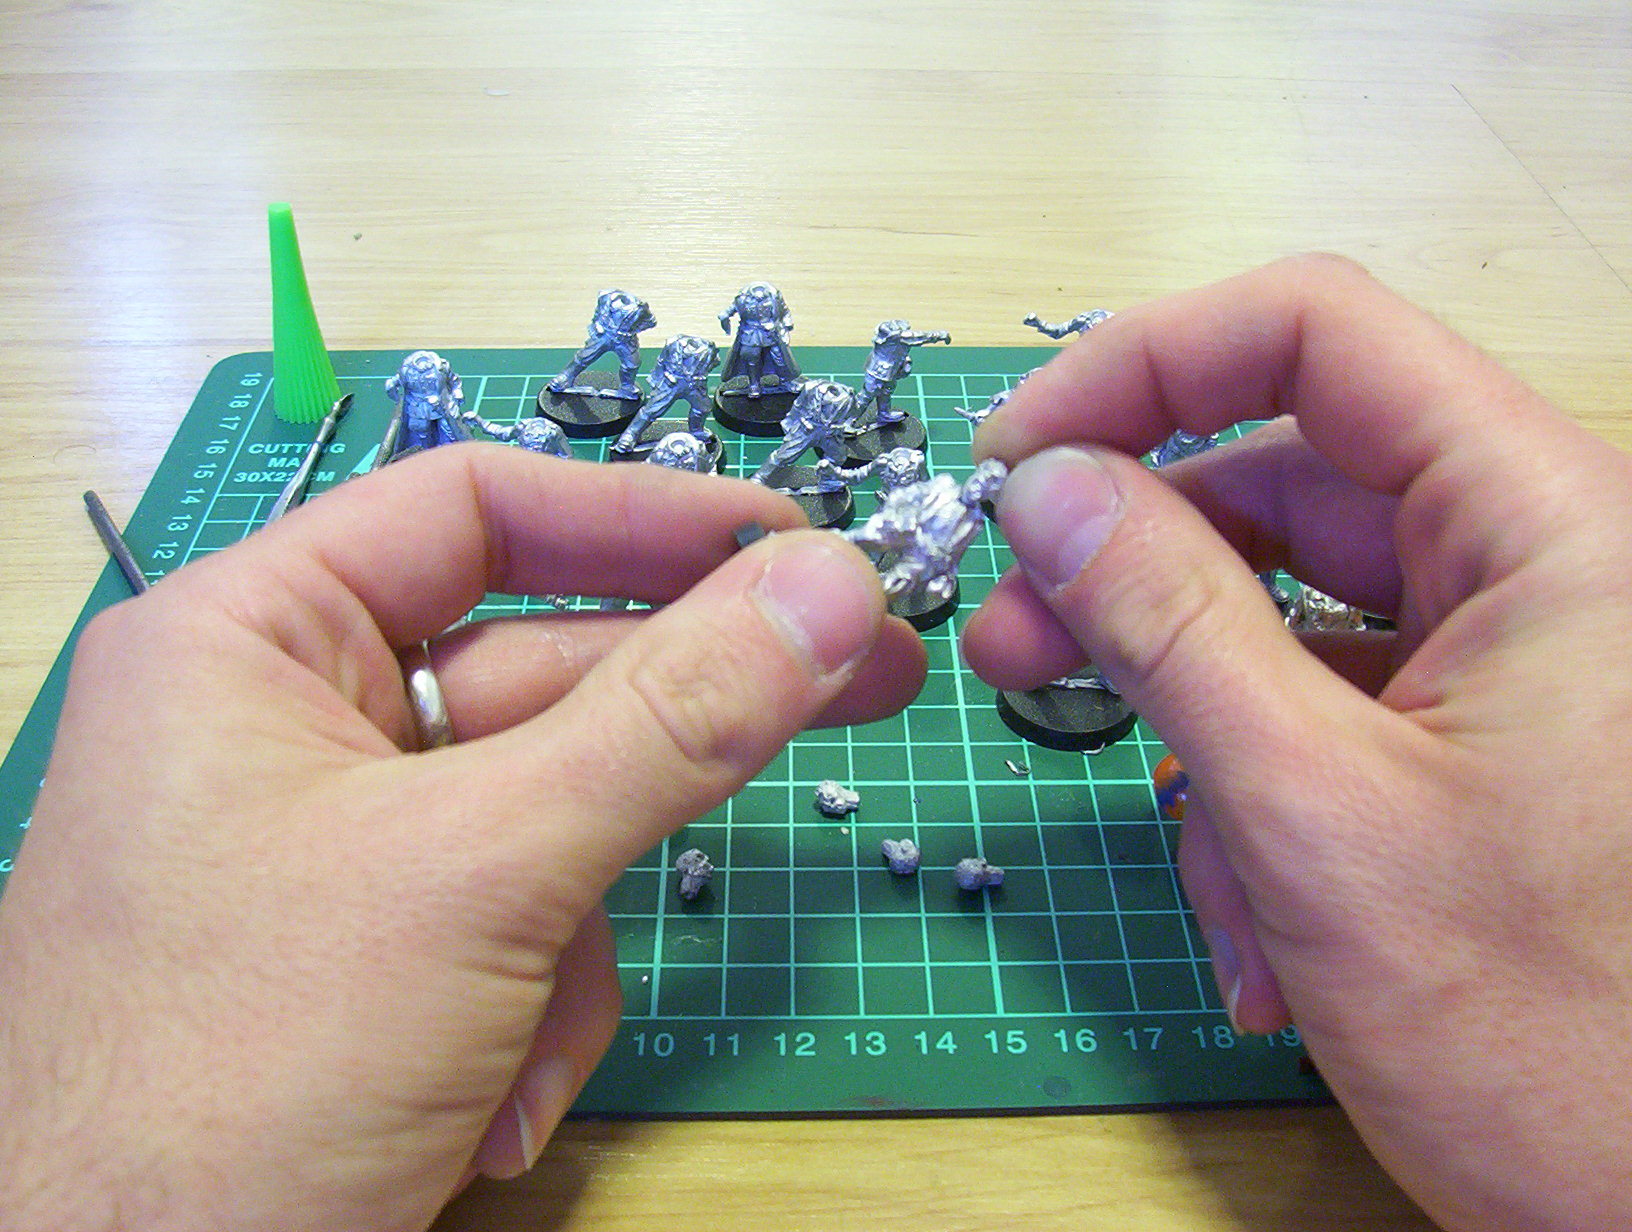
Glue the models to their bases and attach the heads, they have pre sculpted sockets so need no
pinning. After this take your file and begin to remove the flash.
This is something you can do on a lap tray while watching the TV and having a cuppa.
Once all the flash and mould lines are removed you can base you models.
Now is the best time to do this as you won’t get any slop on your painted area’s. I’ve used brushscape
but PVA and sand work just as well even if a little slower.
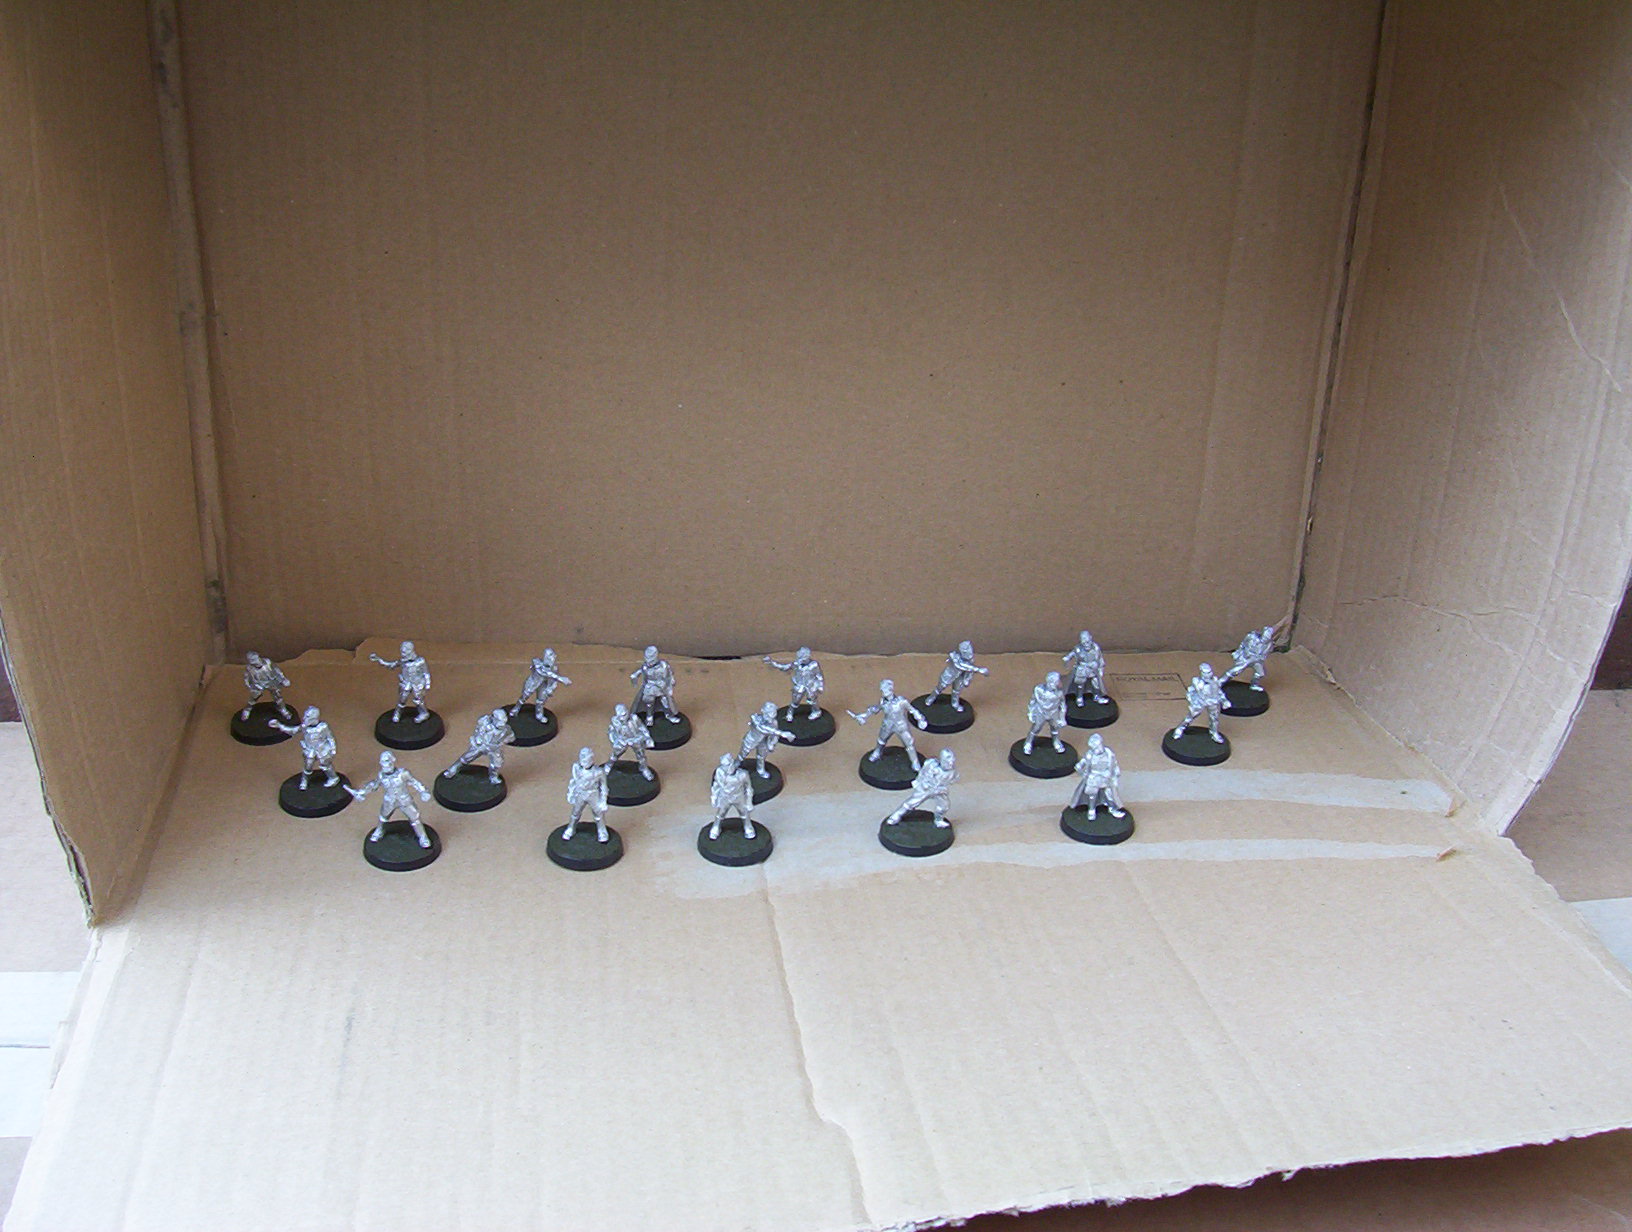
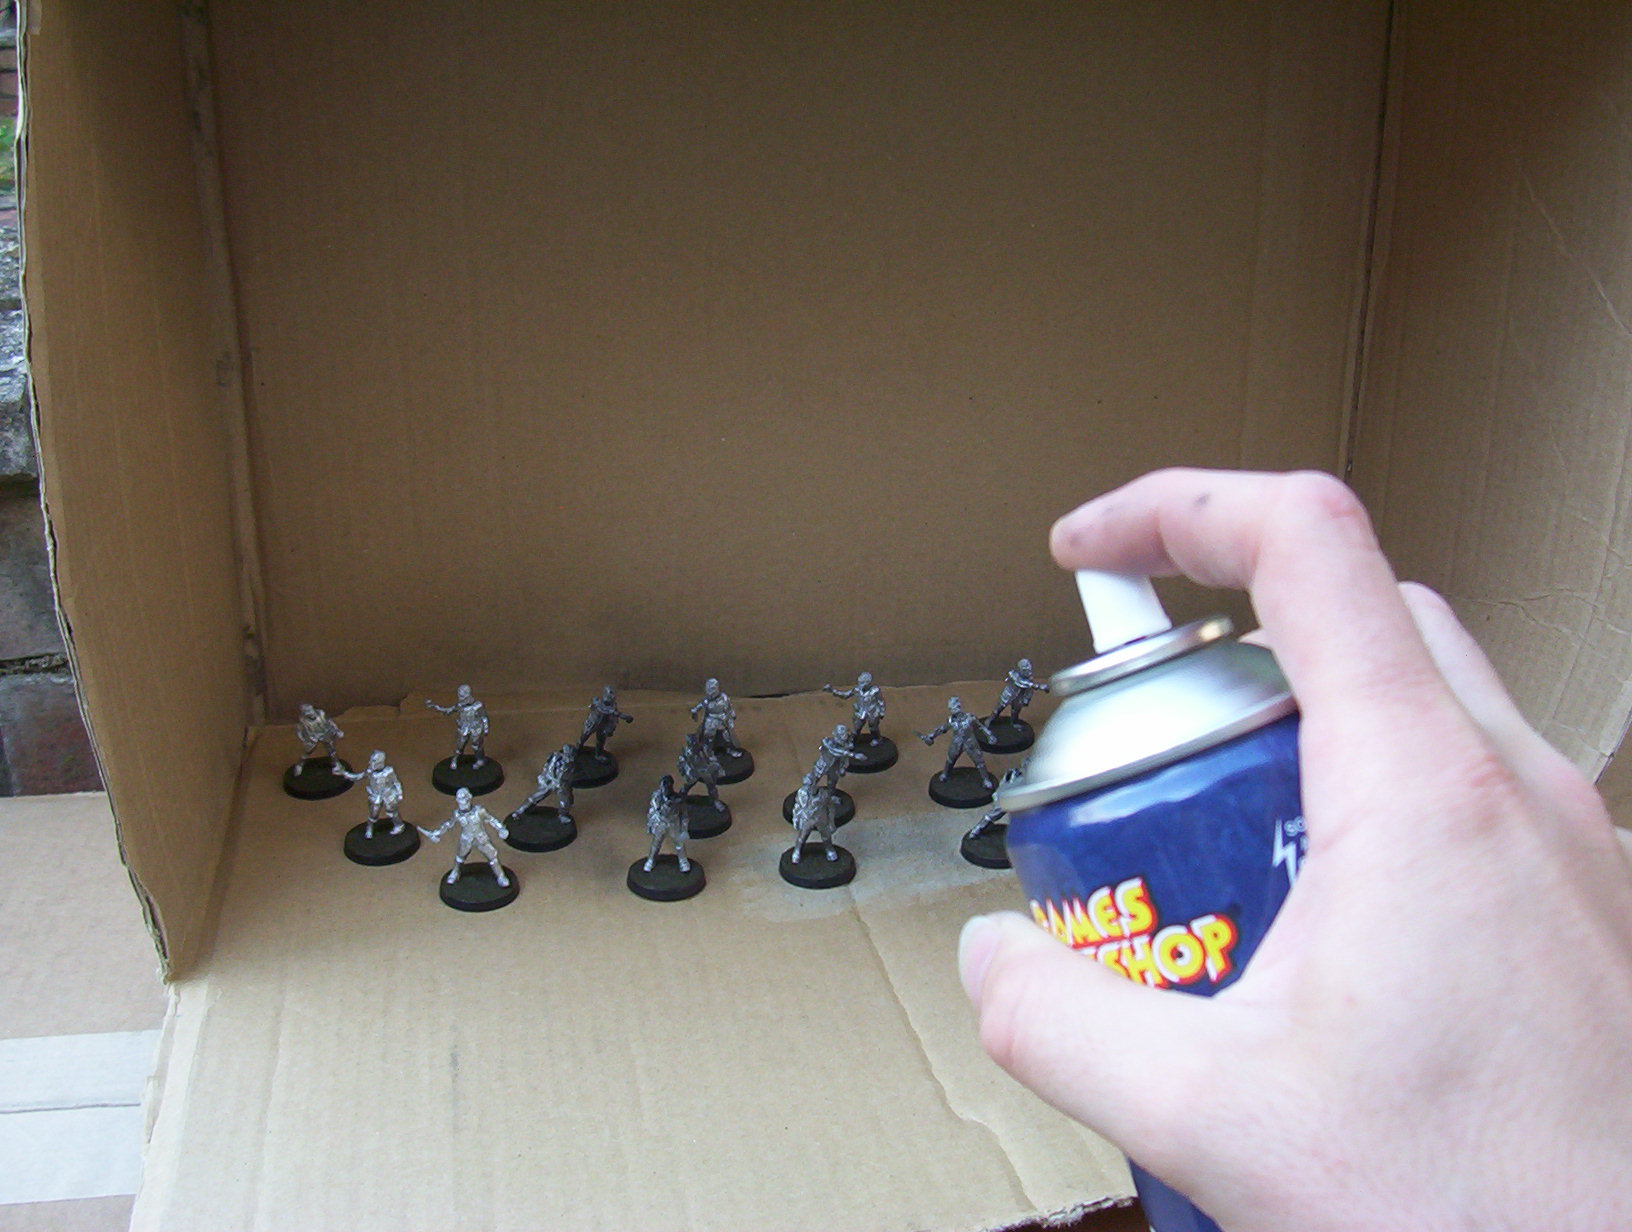
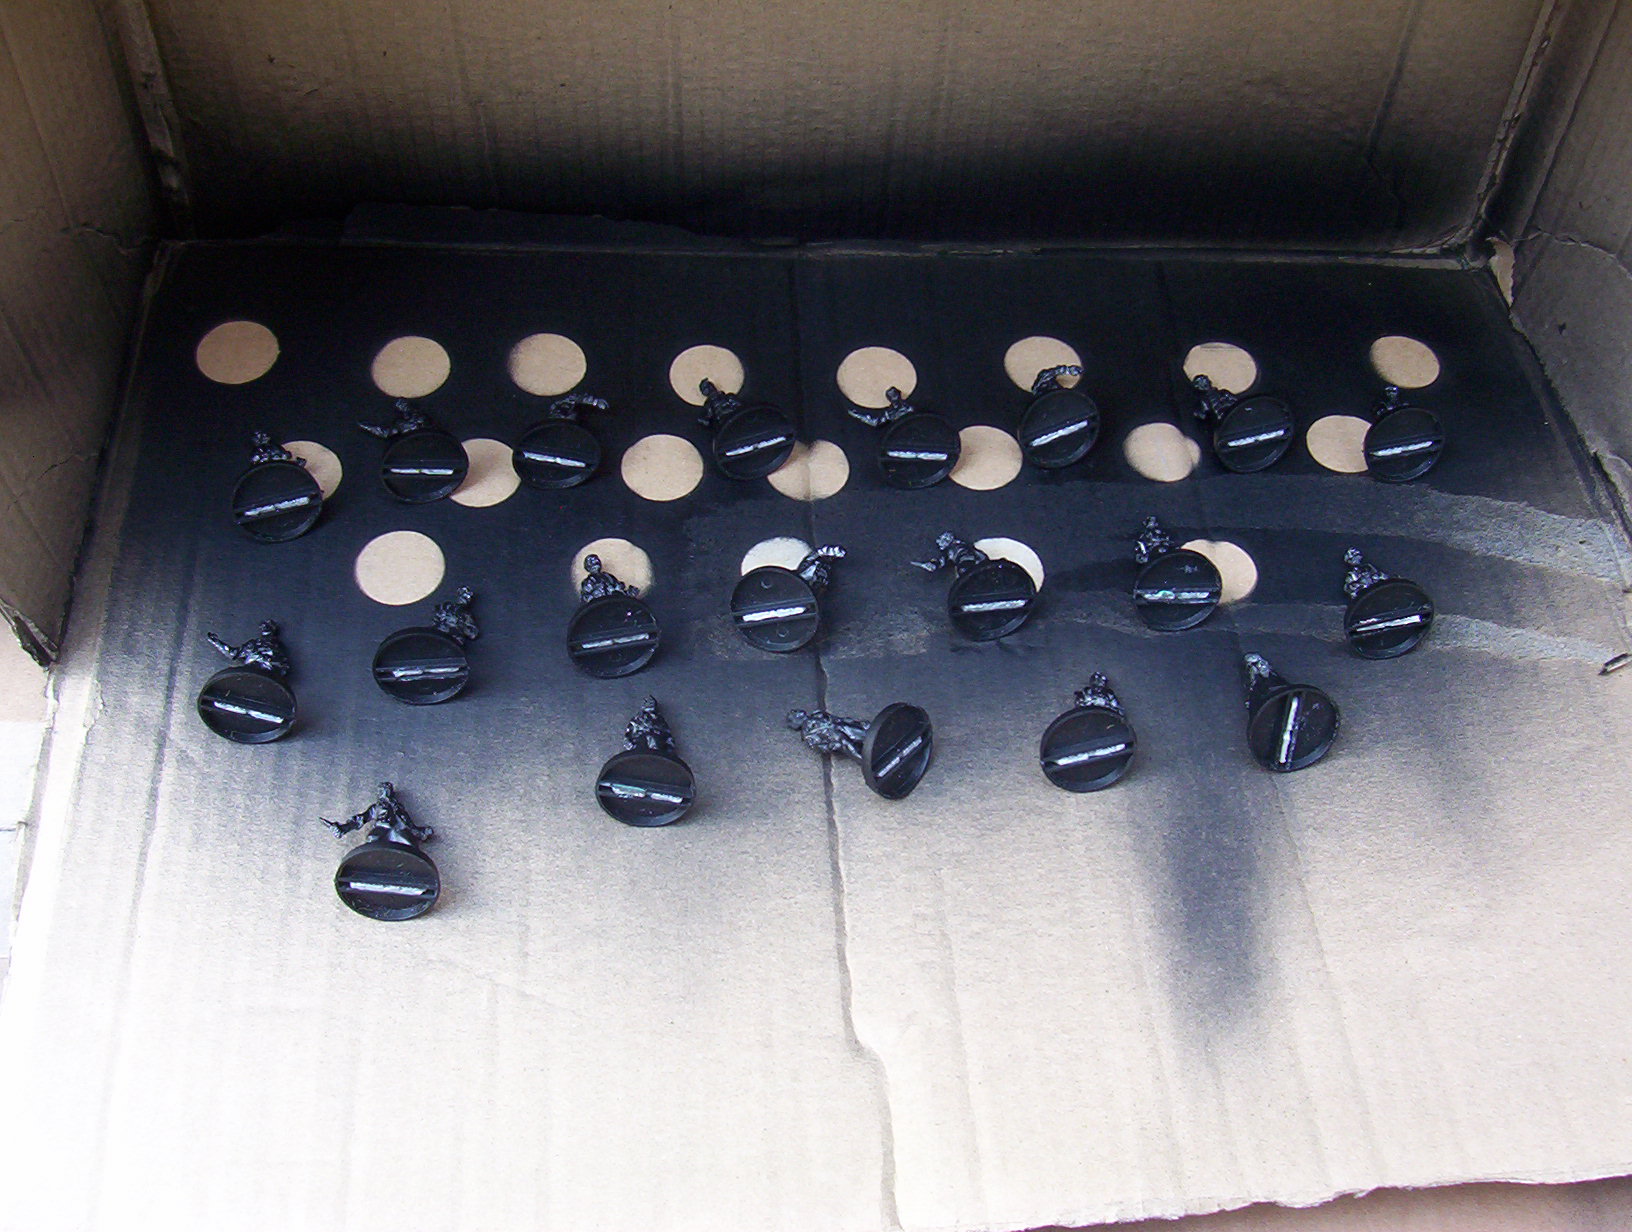
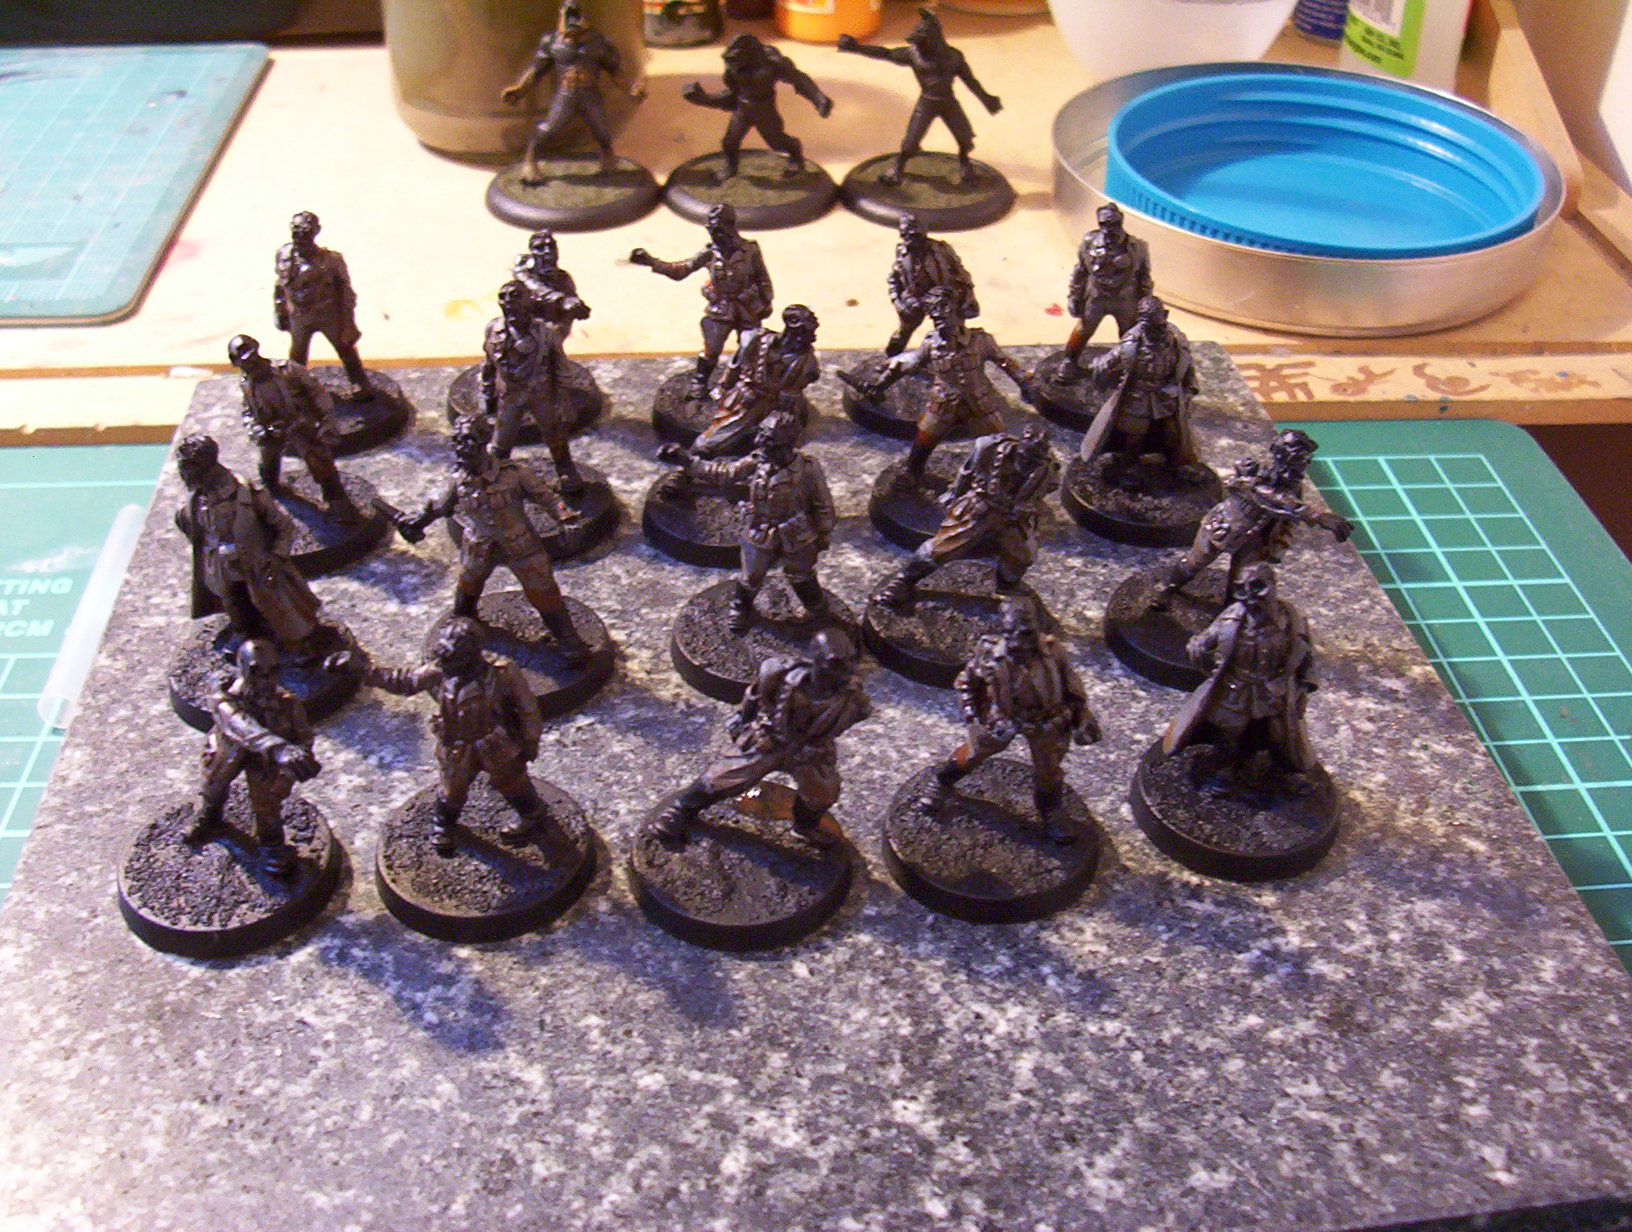
Once the bases are dry line up your models in a make shift spray booth and give them two thin coats
of black spray.
Black undercoat lets you paint quicker and with today’s high pigment paints, coverage is not a
problem.
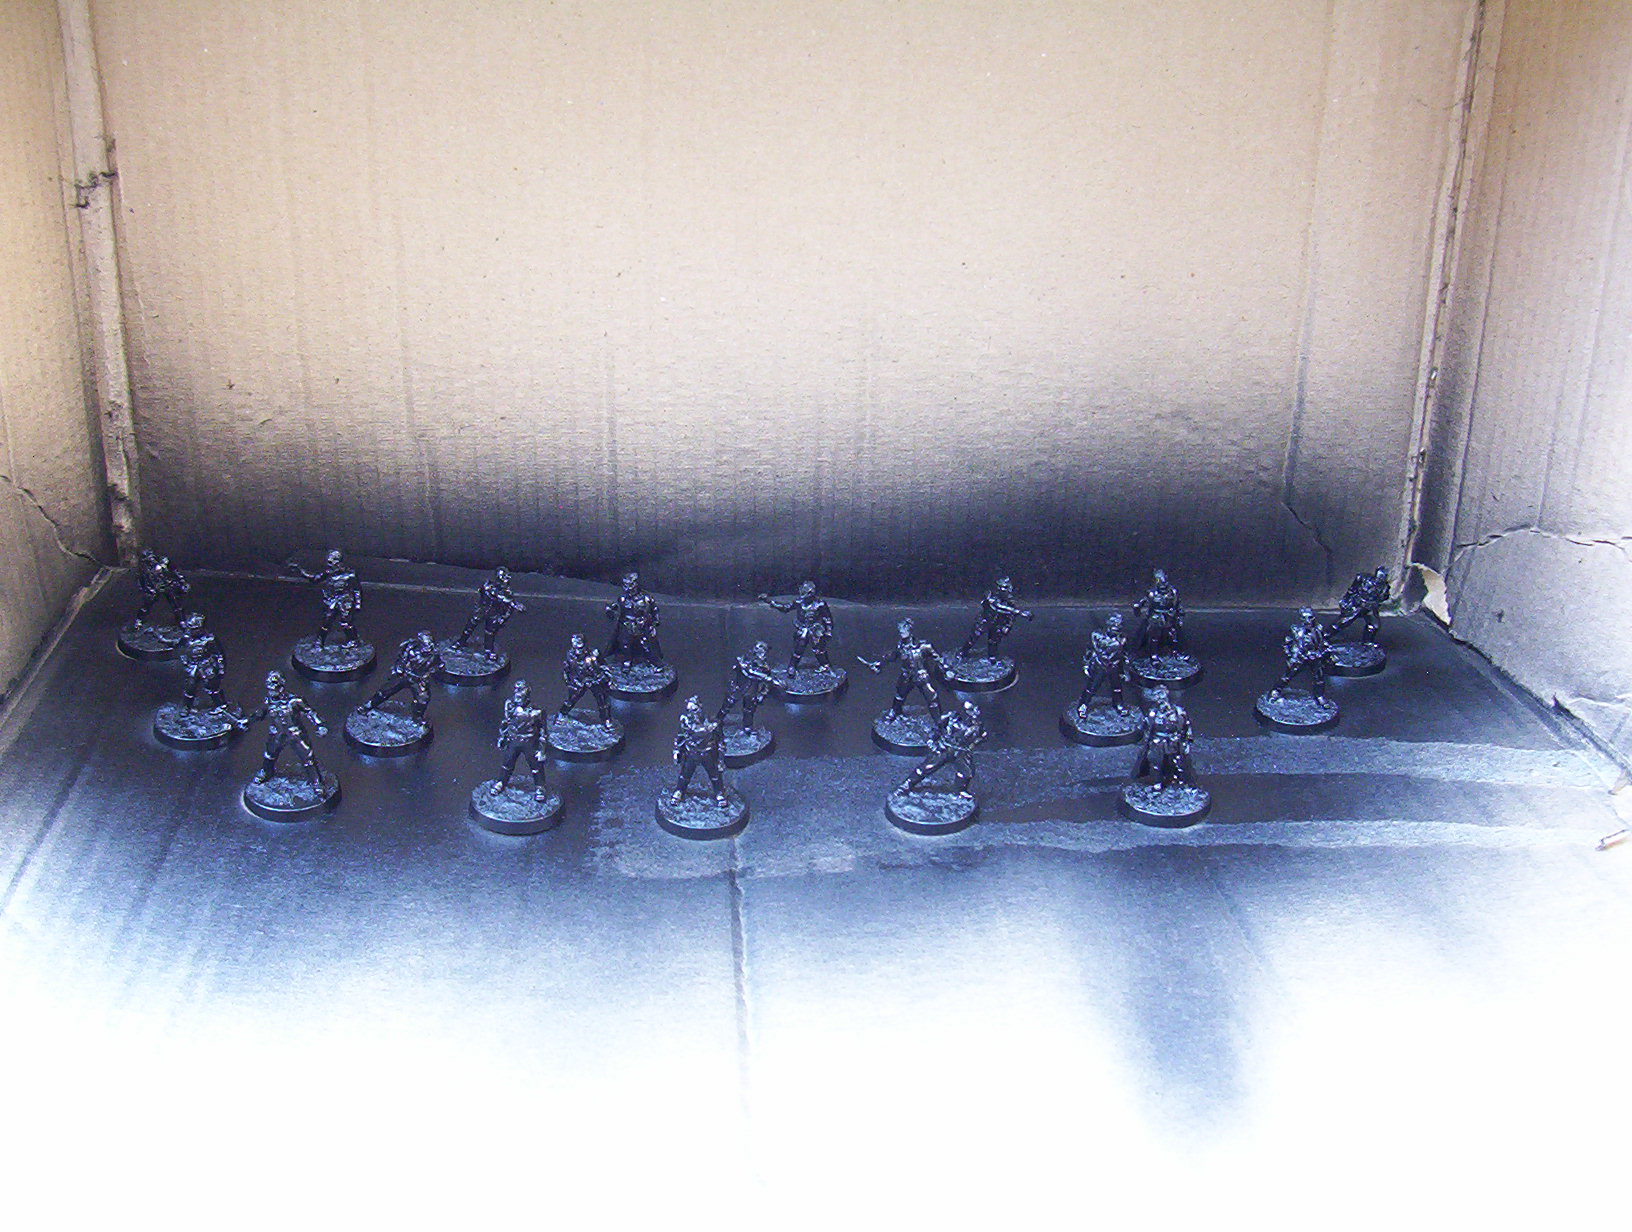
Allow the miniatures to gas off for about 30 min’s, this ensures they will be dry and will reduce
chemical smelliness in your abode.
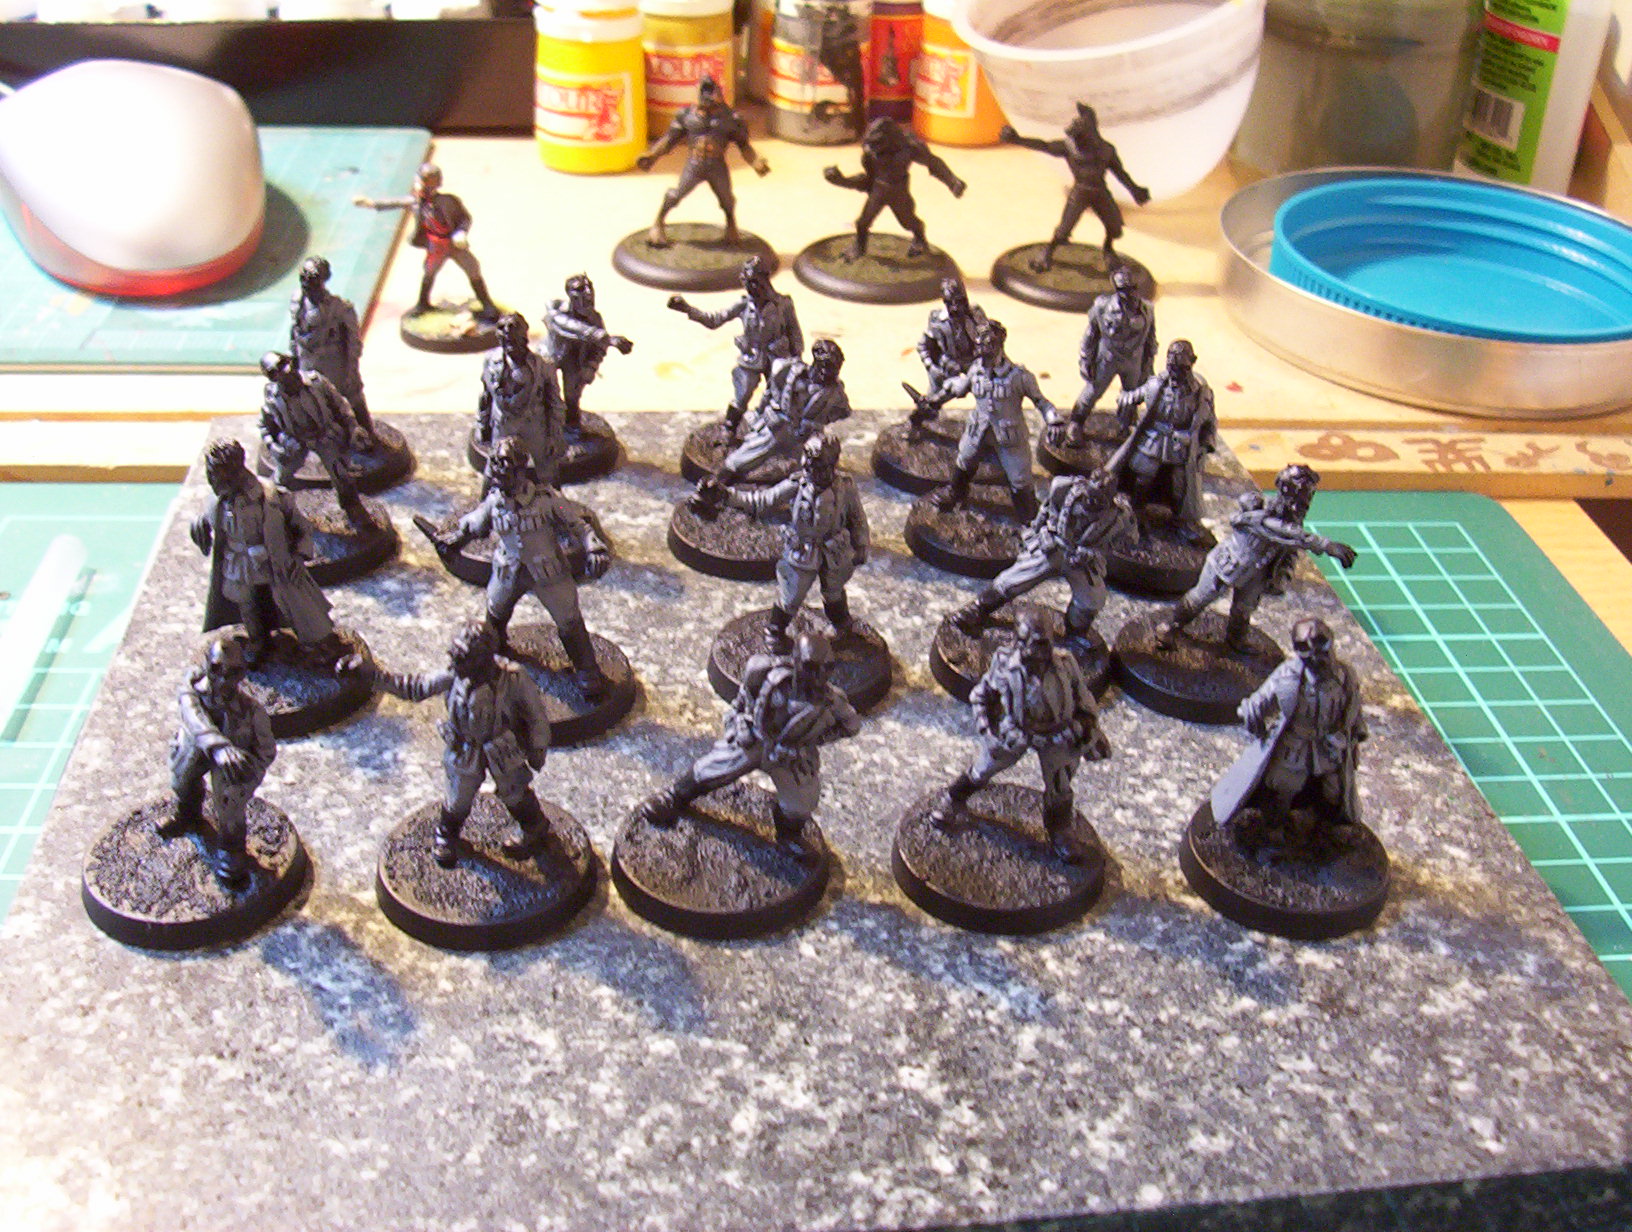
Step Two. Painting.
Think 20 models are two many to paint all at once? Think again.
Each stage of base coating should take no less than half an hour. This means with an average of four
colours you can basecoat all your 20 troops in a two hour session. (nice).
Clothes
The first colour to go on is the colour there is most of. In this case it’s the field grey of the clothing.
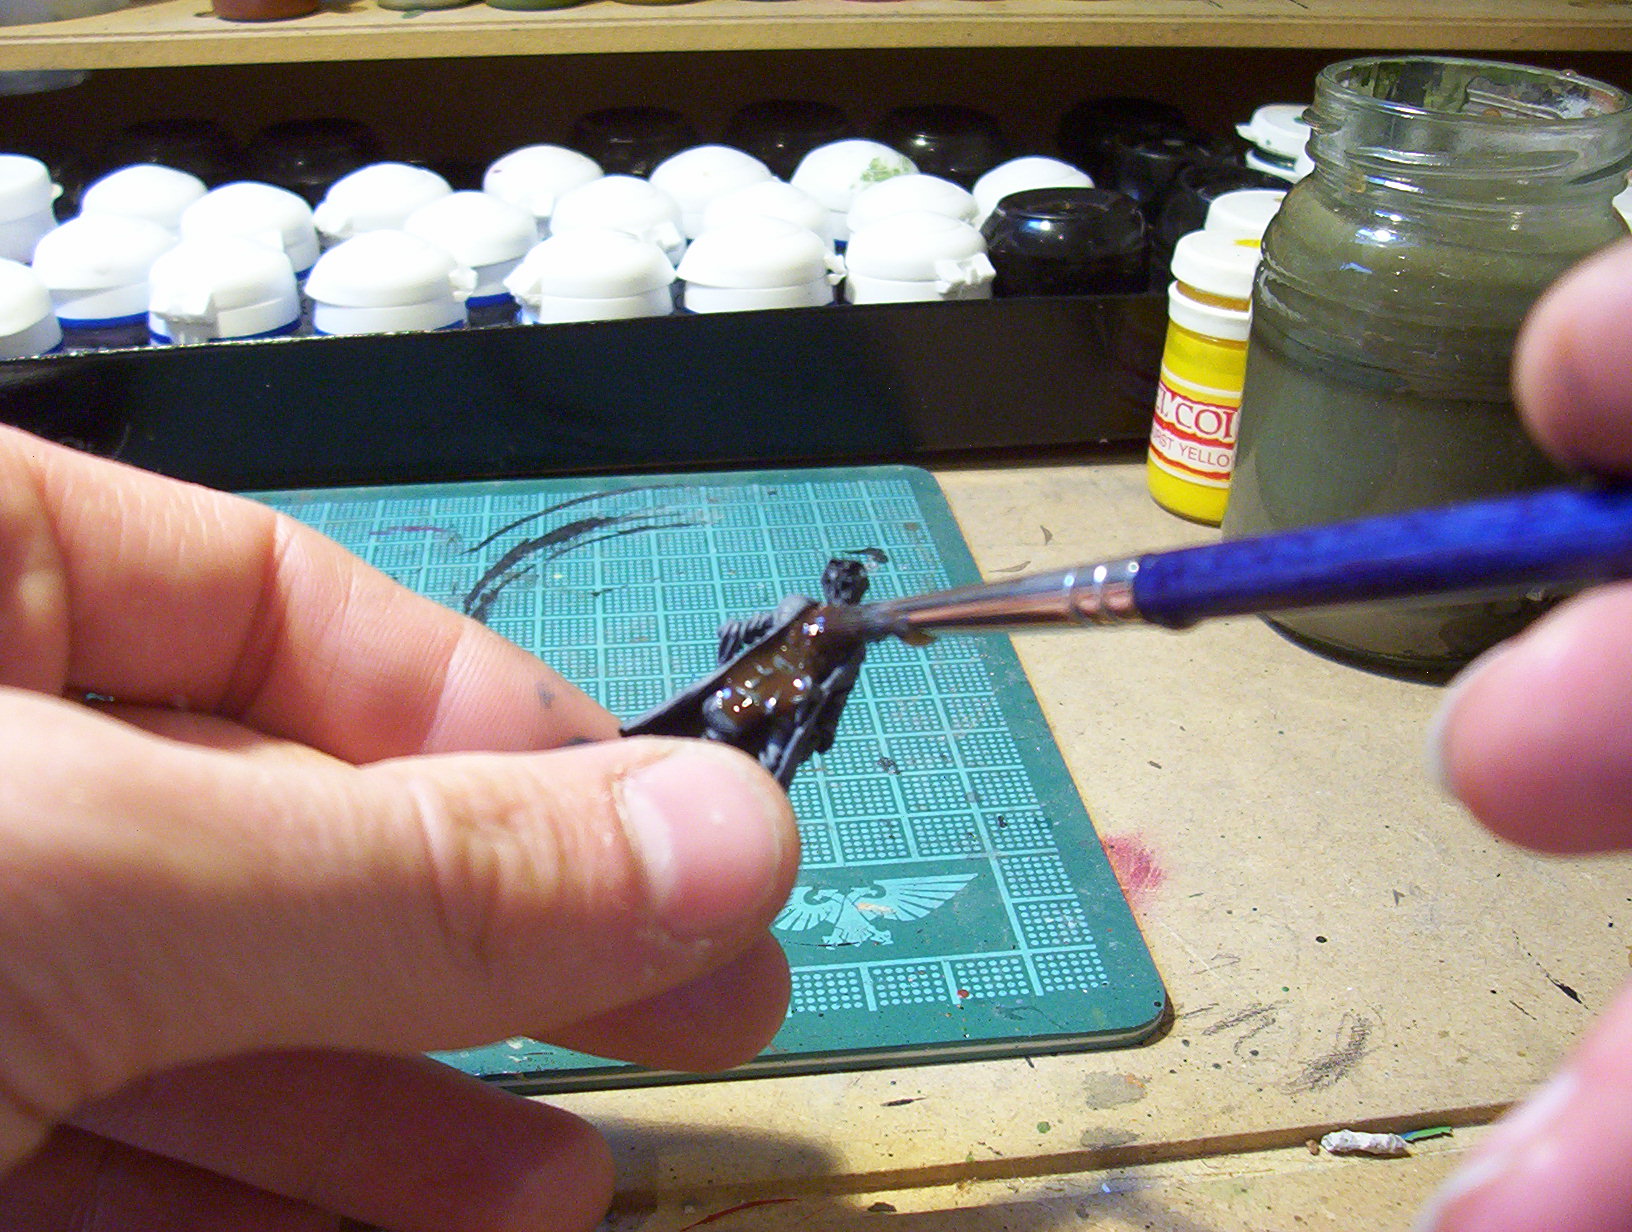
We’ll be applying what is known as the “Wet Brushing” technique for this stage.
Wet brushing is very similar to dry brushing, only with more paint left of the brush. We are painting
Zombies and they are not known for looking after their personal hygiene. So a technique like this is
fine as it gives a messier look than flat painting.
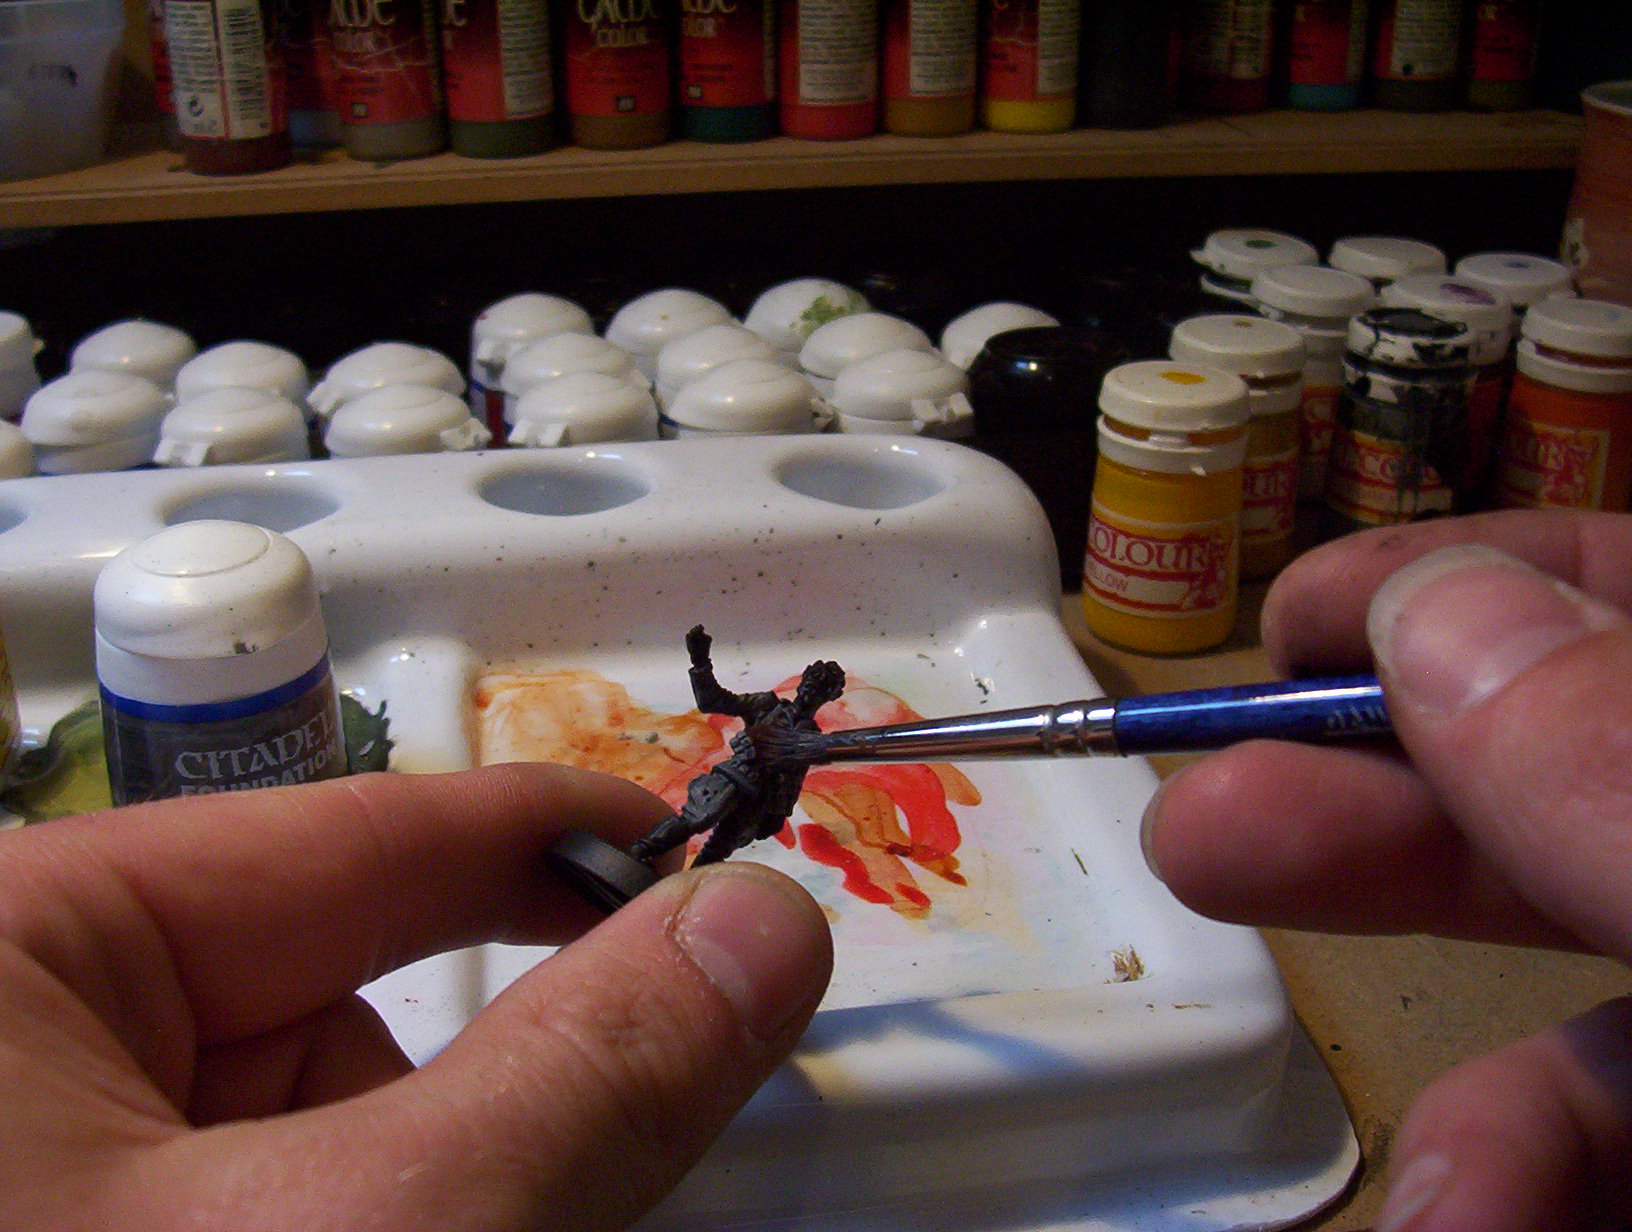
Take a size 2 brush and some mid grey paint, mix a small amount on your palette and add a half a
brush of water. Mix this together and then wash your brush.
Now gather half a brush of paint and wipe half of it off on a clean tissue, you now have a very short
time to apply the paint to the model before the paint begins to dry.
Apply the paint as if you were dry brushing but don’t be too light handed, it’s ok for the colour to enter
the indented areas, we will shade these later with an ink wash.
Repeat this step twenty times.
Ink wash
We will now apply an ink wash to the whole model.
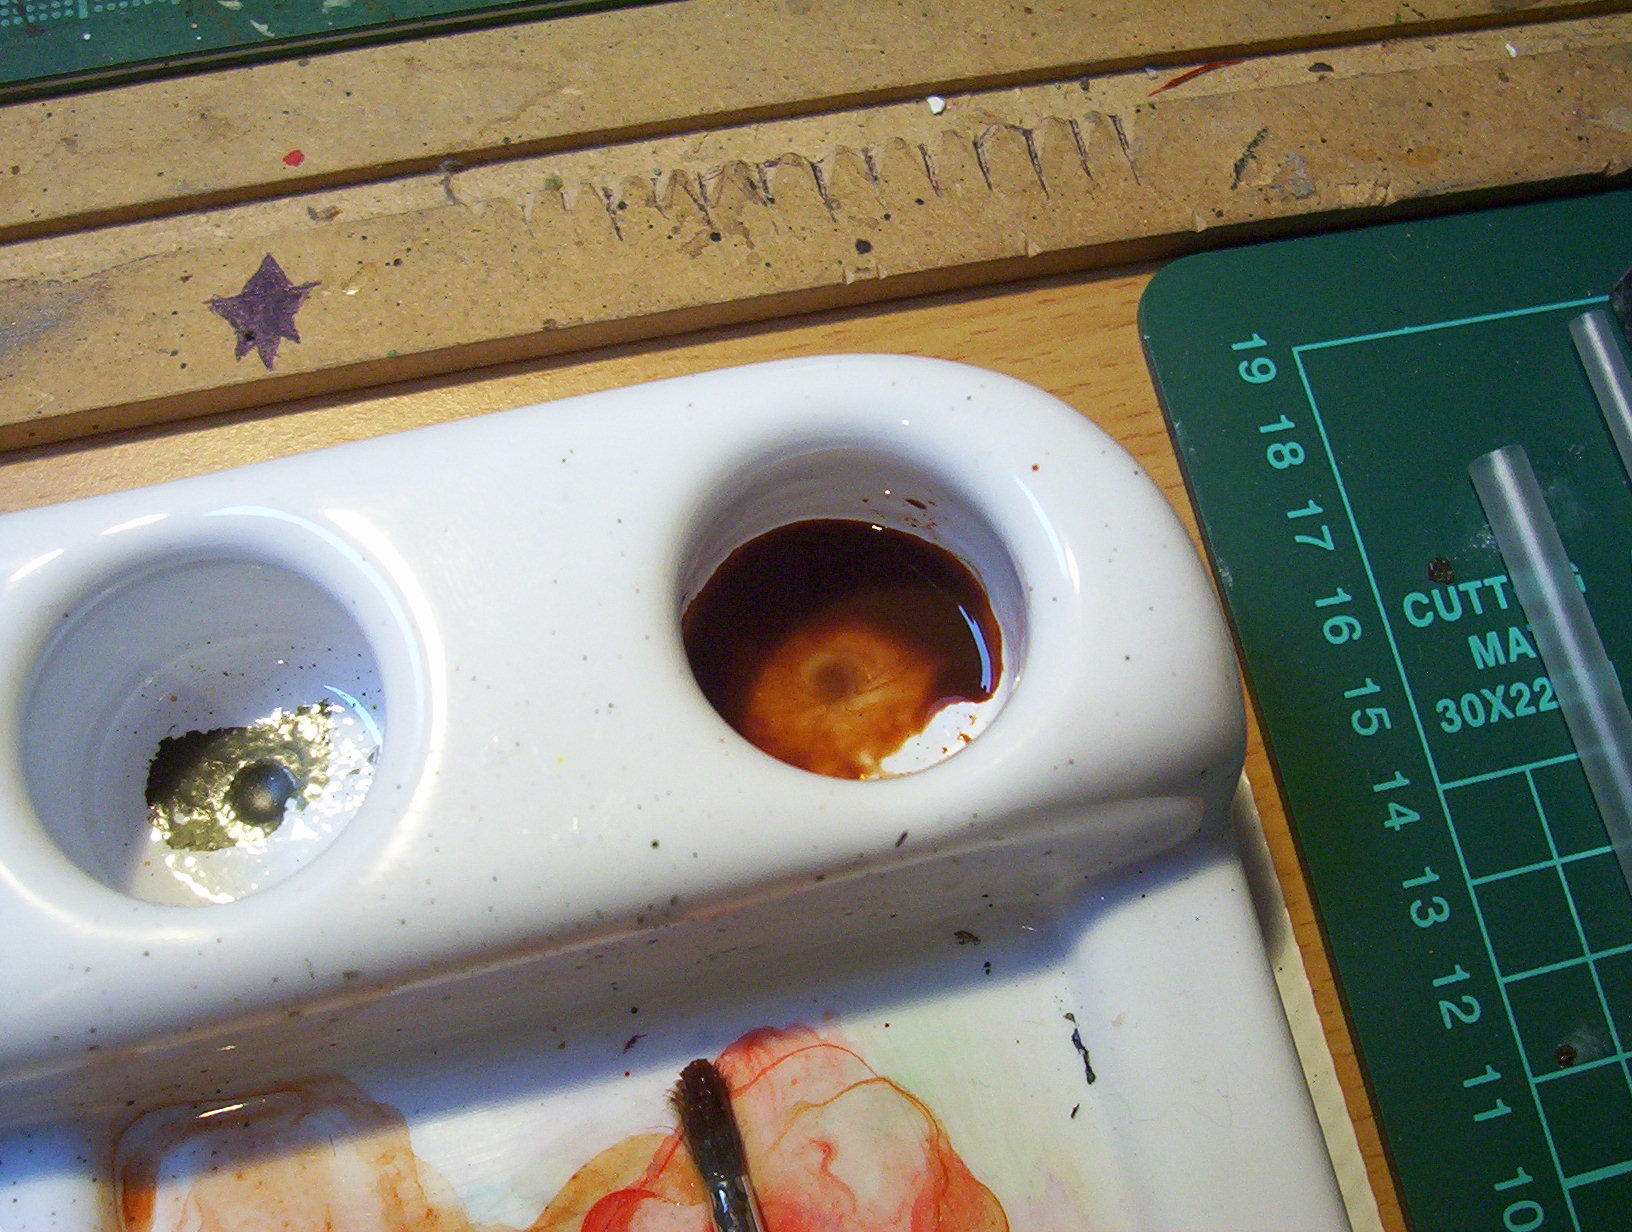
Mix one part brown ink with three parts water and a spot on black paint, mix together.
The ink and water should start to separate and look smoky. Add small amounts of water until this is
achieved.
Take a generous brush full of you ink and apply it to the model. This takes little time and should fly
through this stage.
Allow the models to dry completely before the next stage.
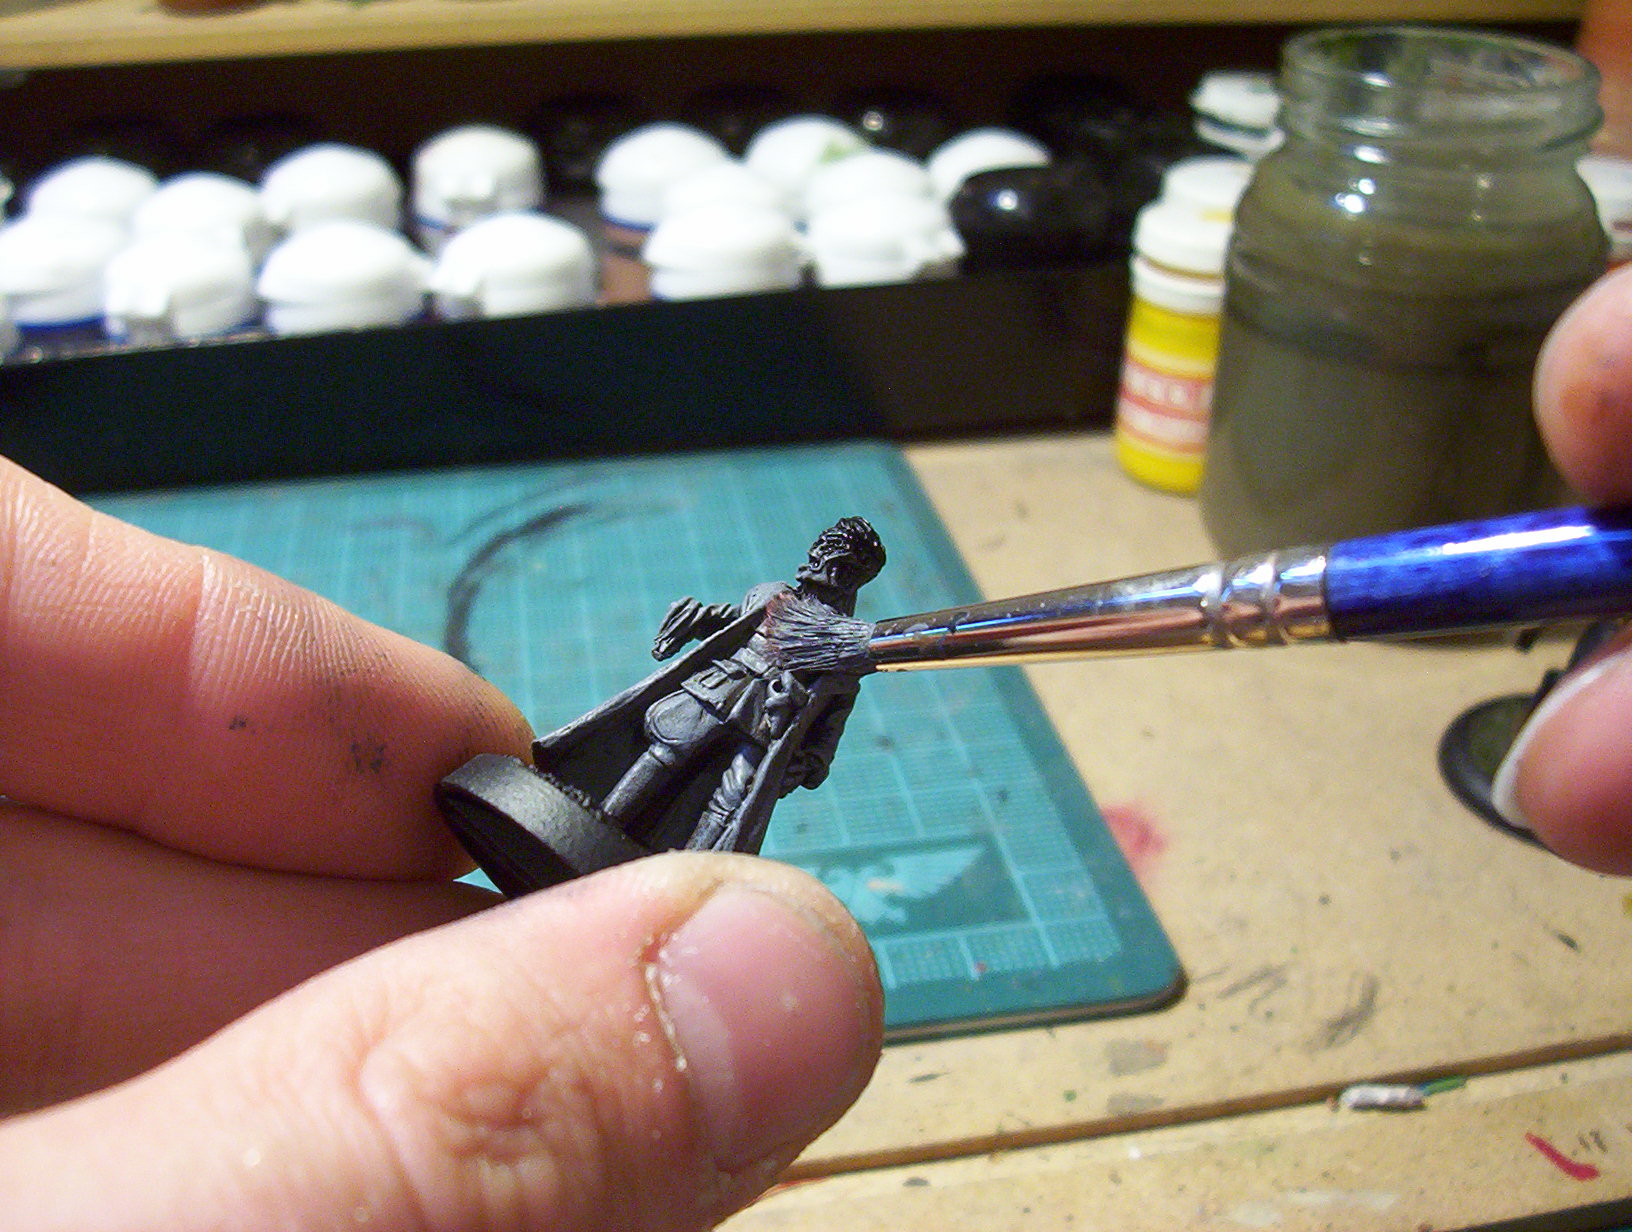
Wet brushing highlights.
We don’t got time to get fussy with highlighting but it’s an important step and adds depth to your
models.
Instead of skipping it we are going to wet brush one shade lighter to achieve the highlights.
Mix some dark grey and a small amount of light grey and add half a brush of water.
Apply in the same way the original base coat but be more careful.
I find brushing down from top to bottom gives the best effect as it simulate sun or moon light.
Pick out the black bits.
This is a good time to pick out the webbing and boots with black paint.
Do this with a detail brush. Takes but a second.
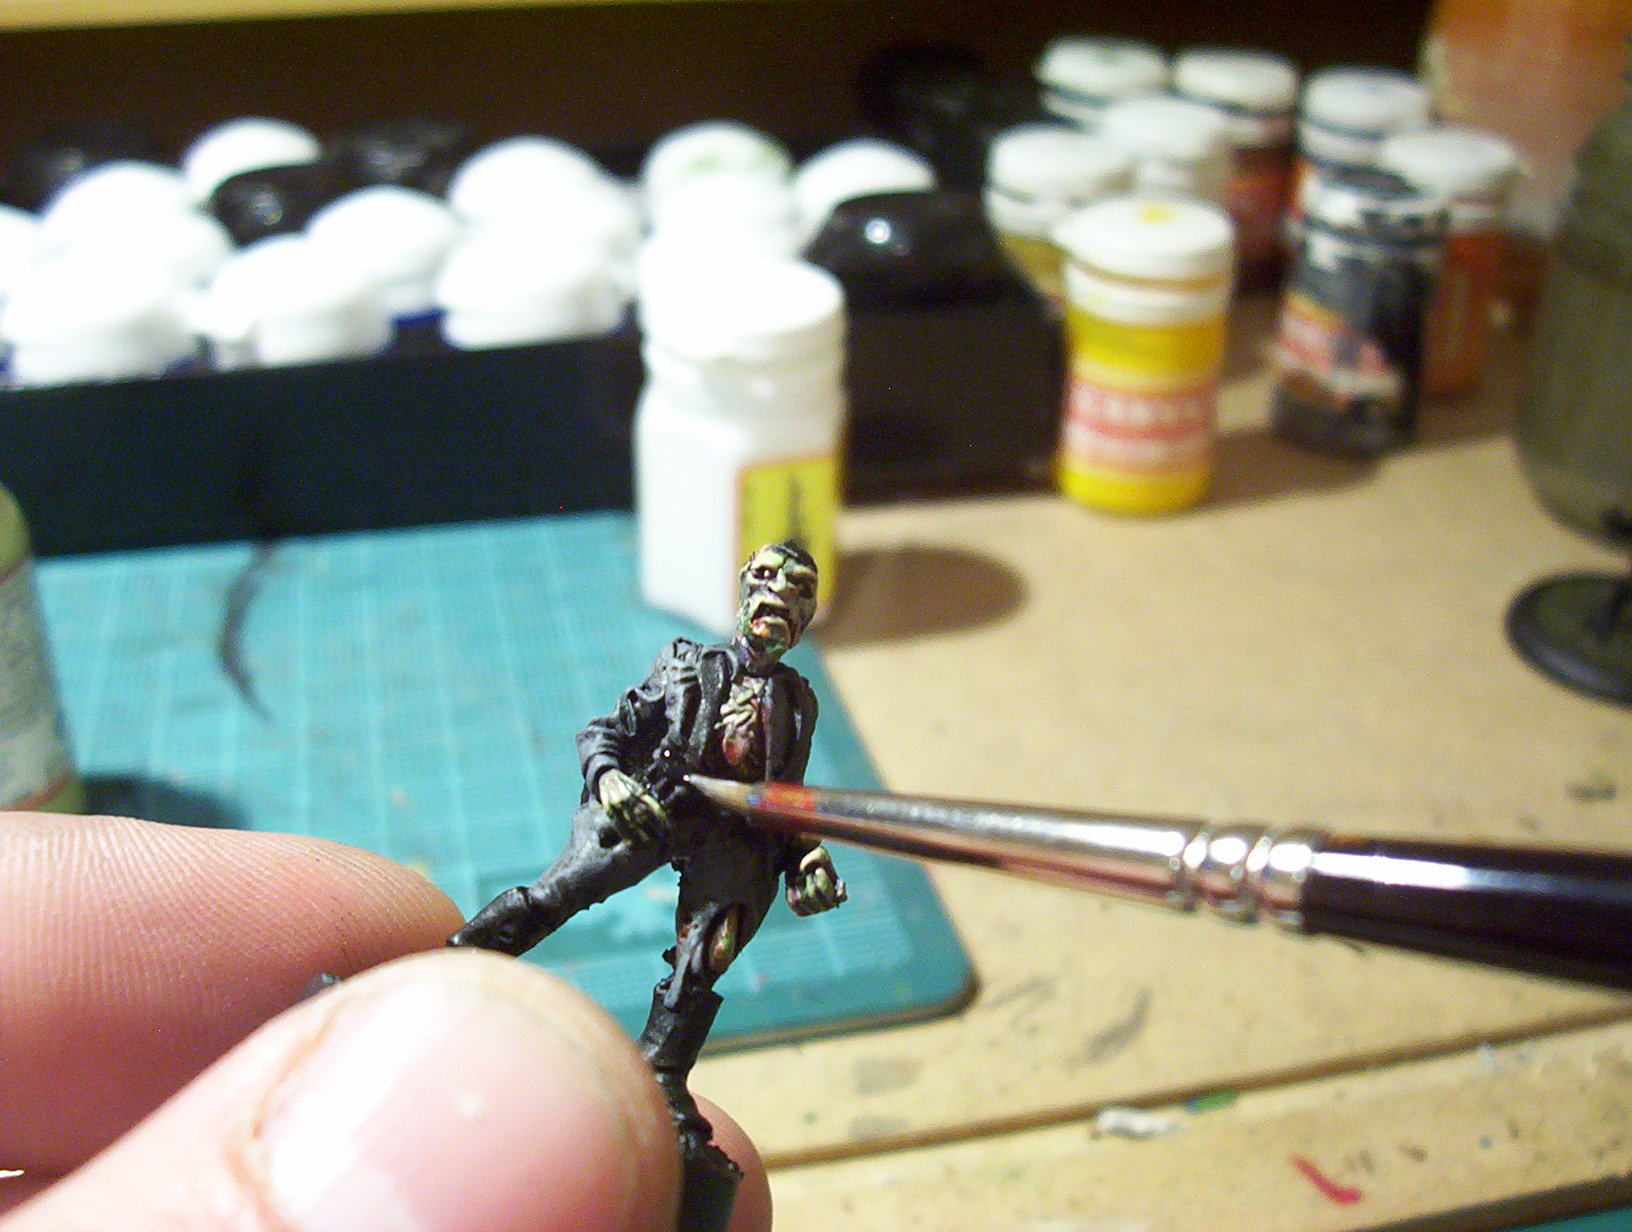
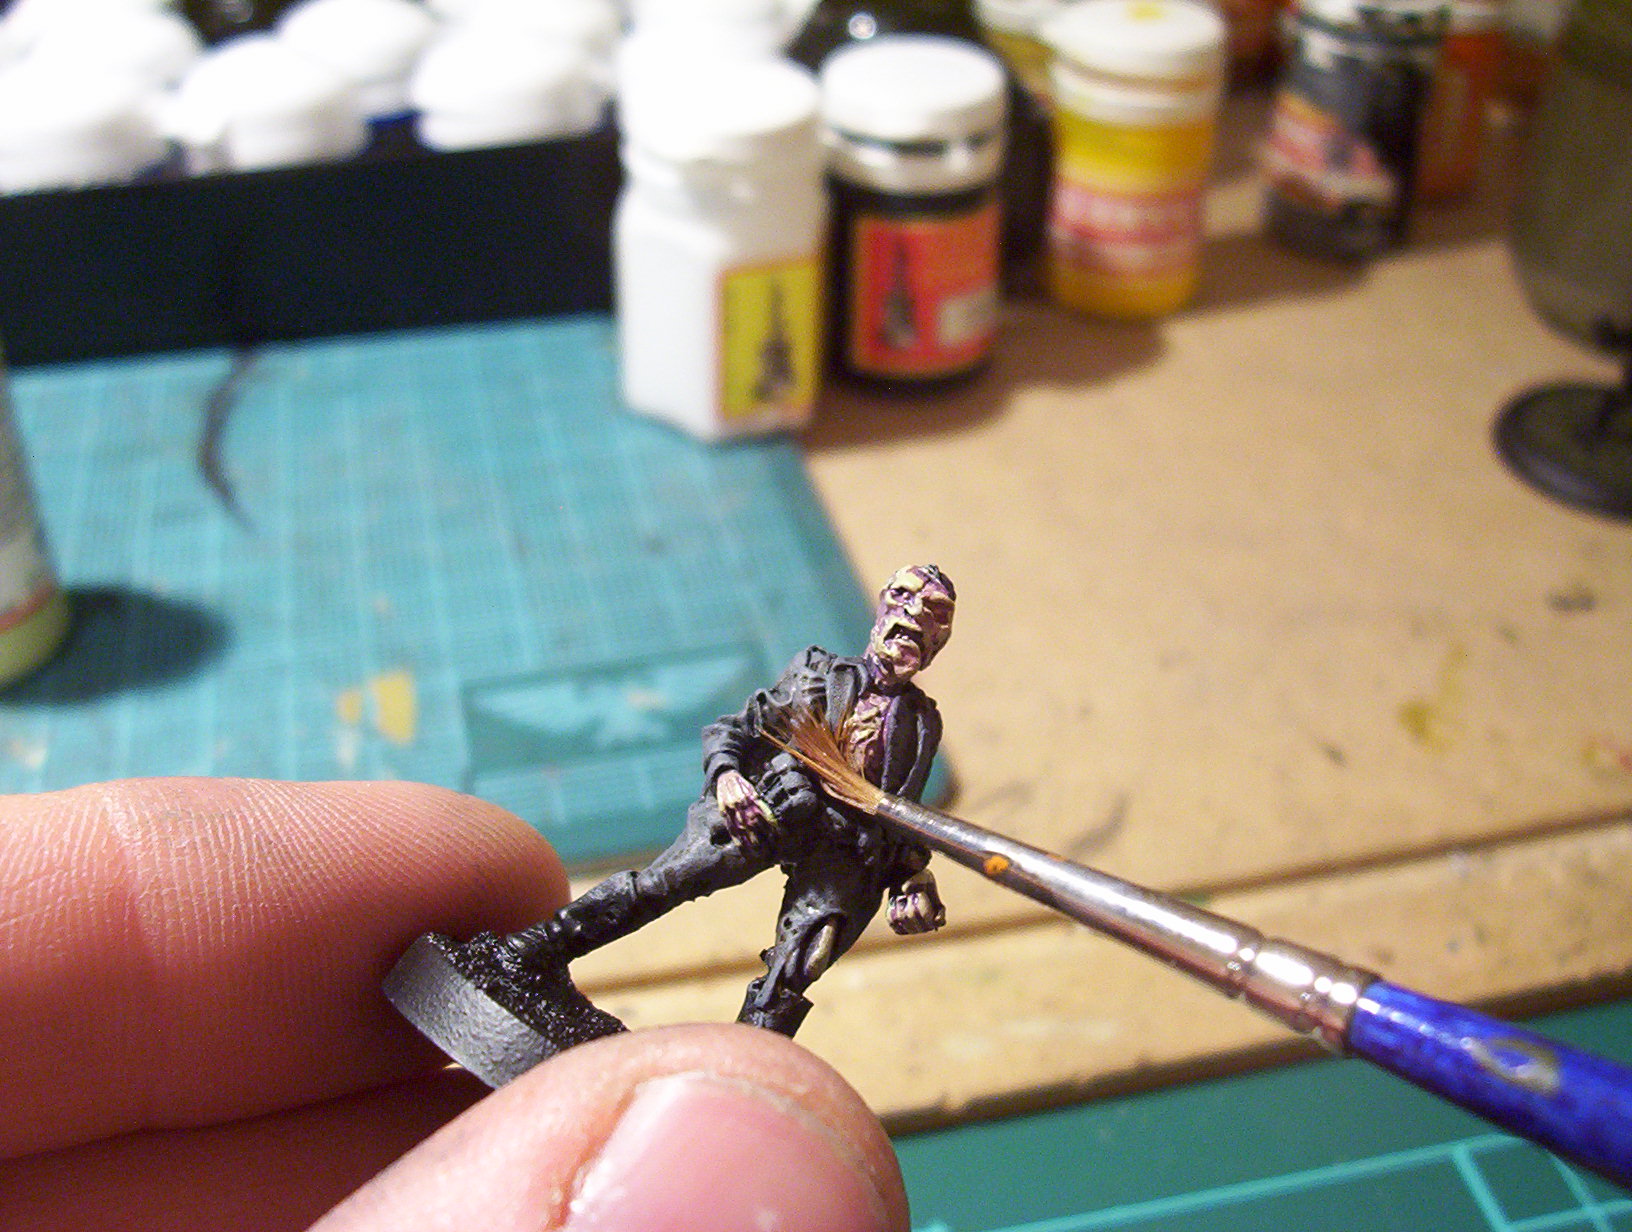
Skin
Now we are going to add the base skin tone.
Take some dead flesh colour and one part water to two parts paint.
Get yourself a size 0 brush and paint all the skin areas. This should only take one take one coat with
today’s paints.
When all 20 are finished allow them to dry.
To help get that unhealthy pallor we will apply a few washes.
The first of these washes is purple and we’ll be using paint and not ink.
Take a small spot of purple paint and add enough water so that it becomes transparent, clean off your
brush and dry it.
Re load your brush and apply the purple paint was the all the skin areas.
You can be pretty slap dash with this as it can add a very Orrible mottled affect.
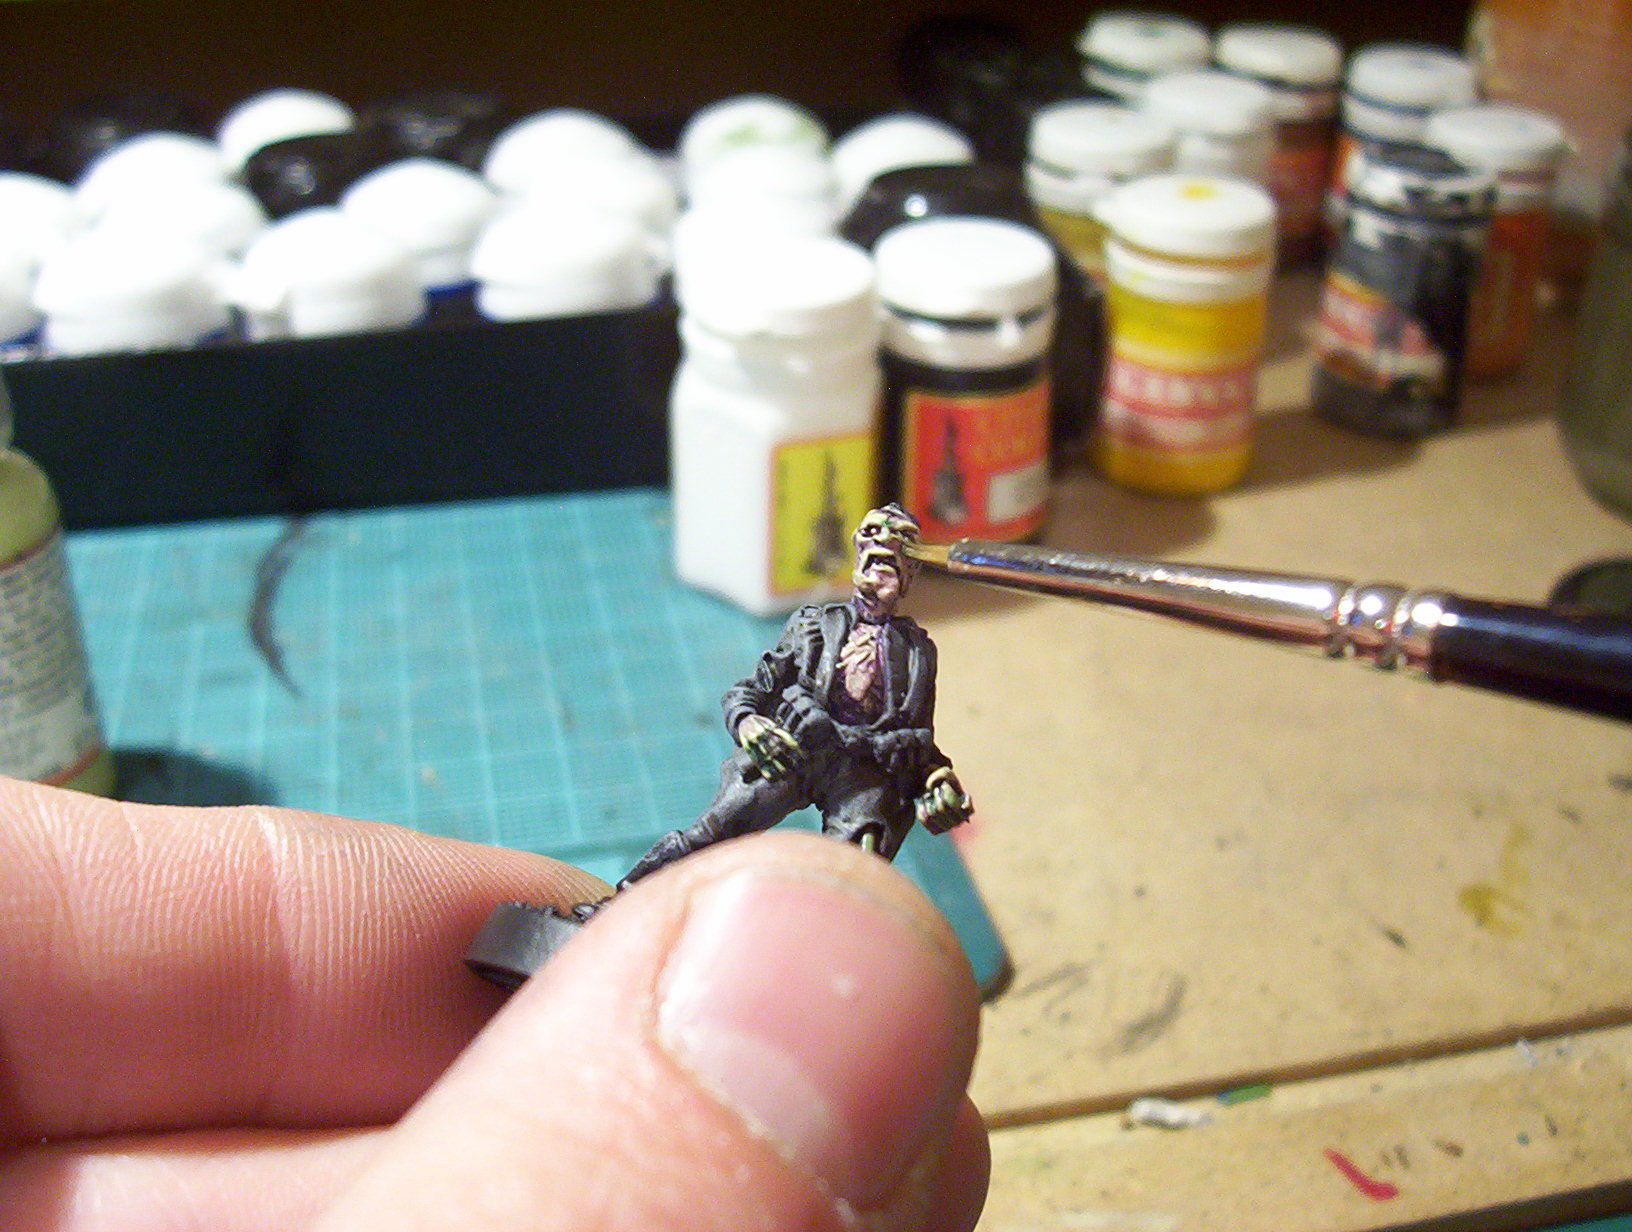
Once this is dry repeat the step above with green ink.
Allow this to dry completely before adding small touches of red ink to open wounds.
When all of your washes are done you can highlight the skin. use a mix of dead flesh and a spot of
white.
Just really pick out the faces and hands, there’s no need to go overboard here.
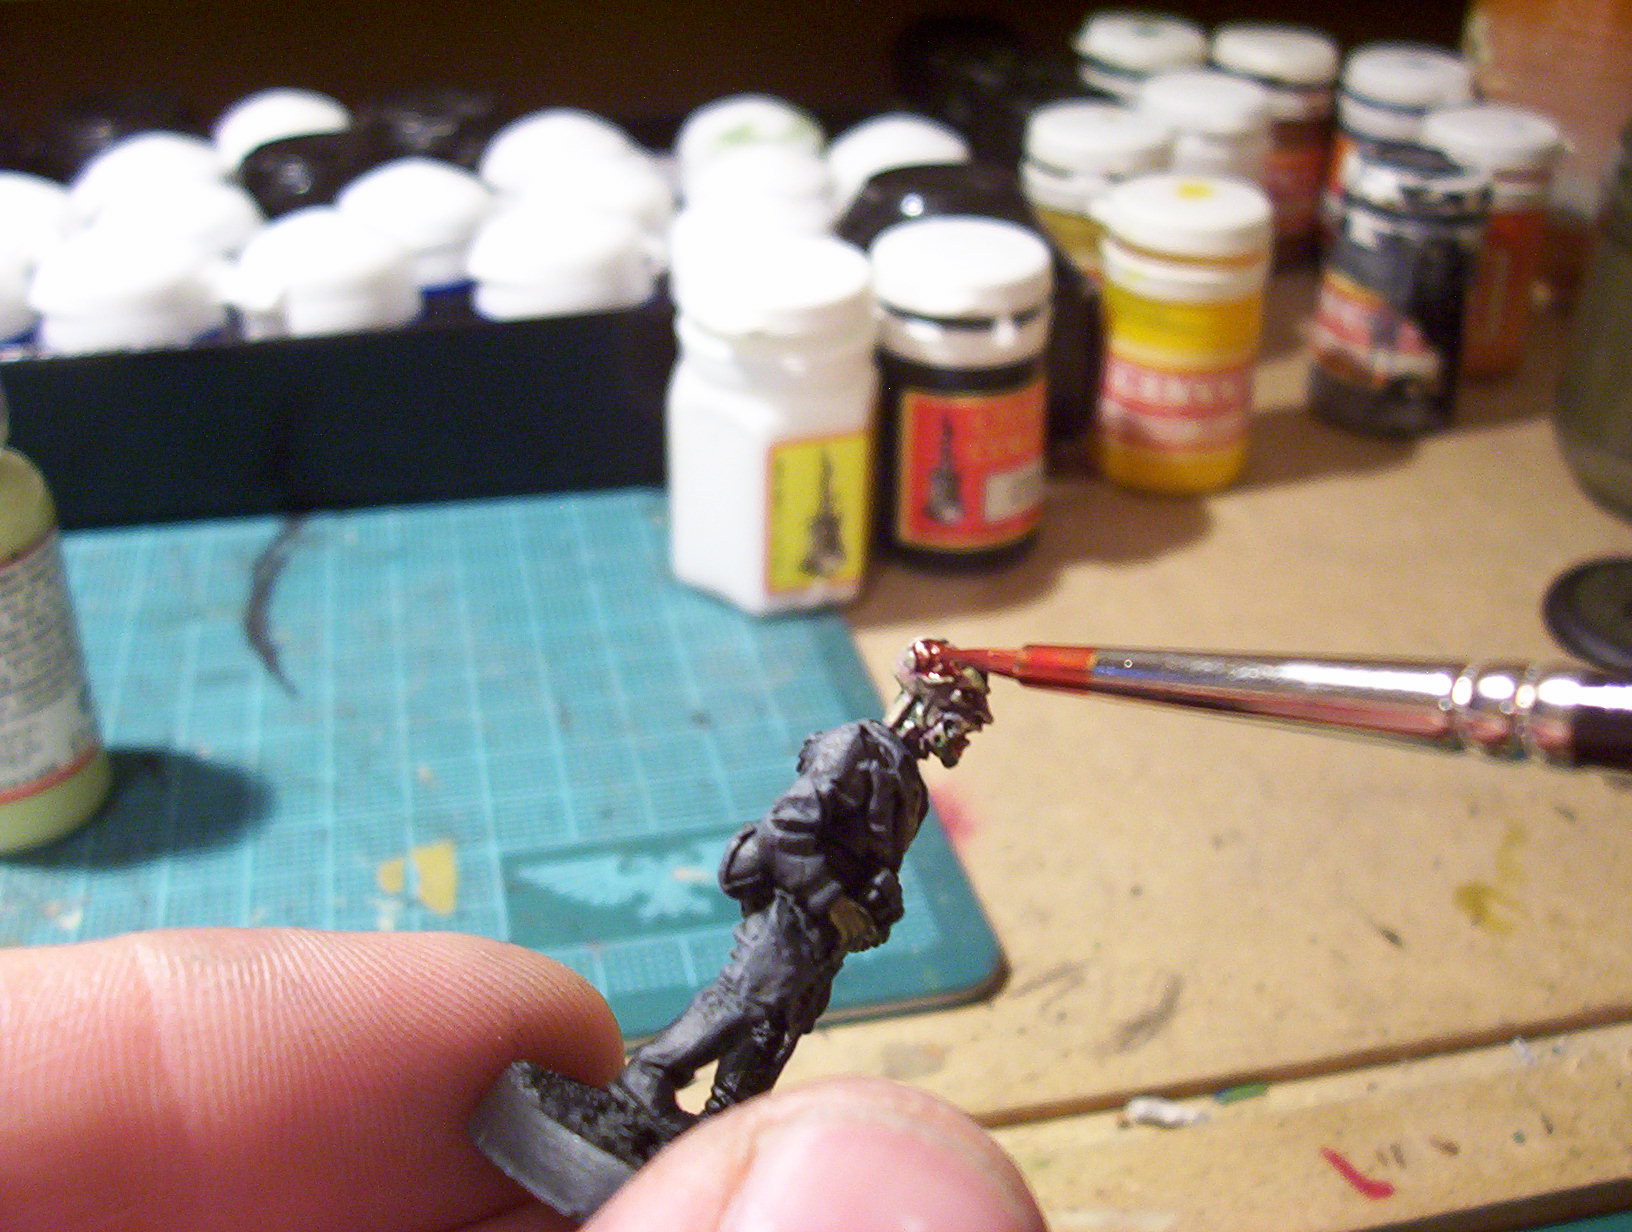
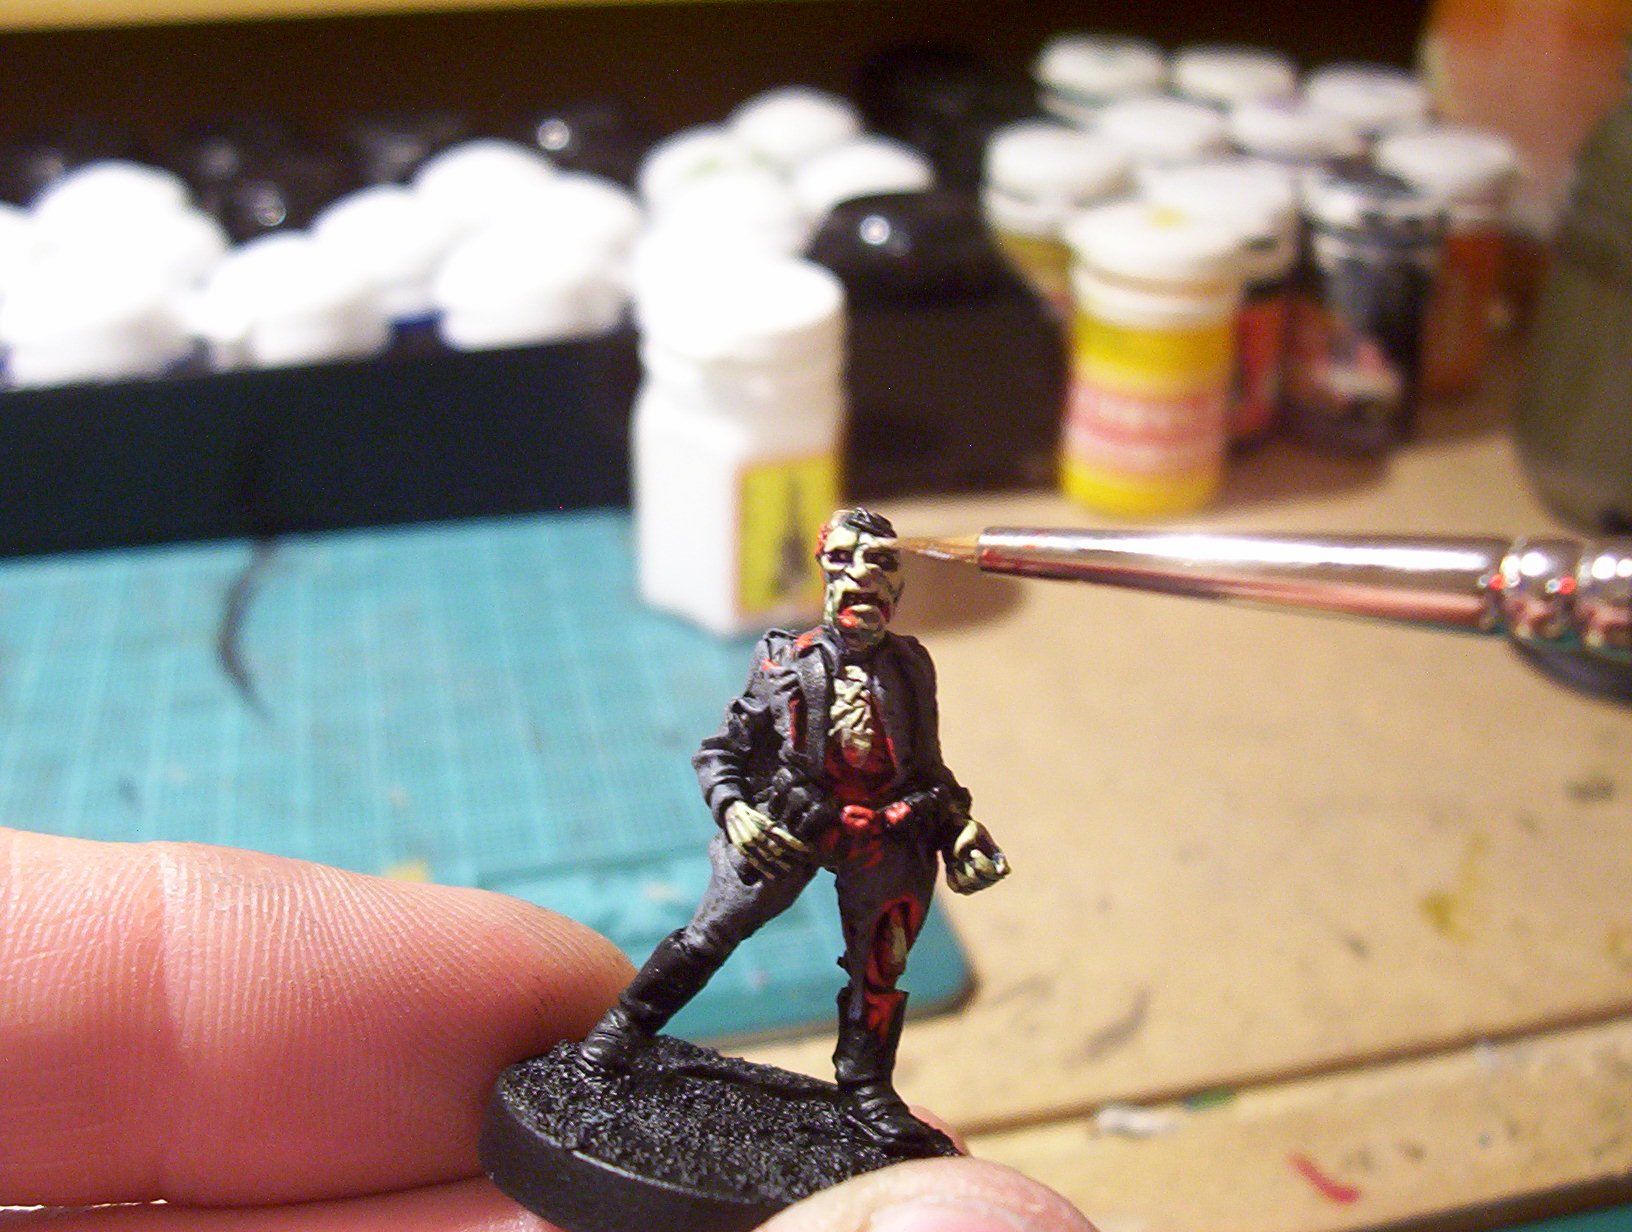
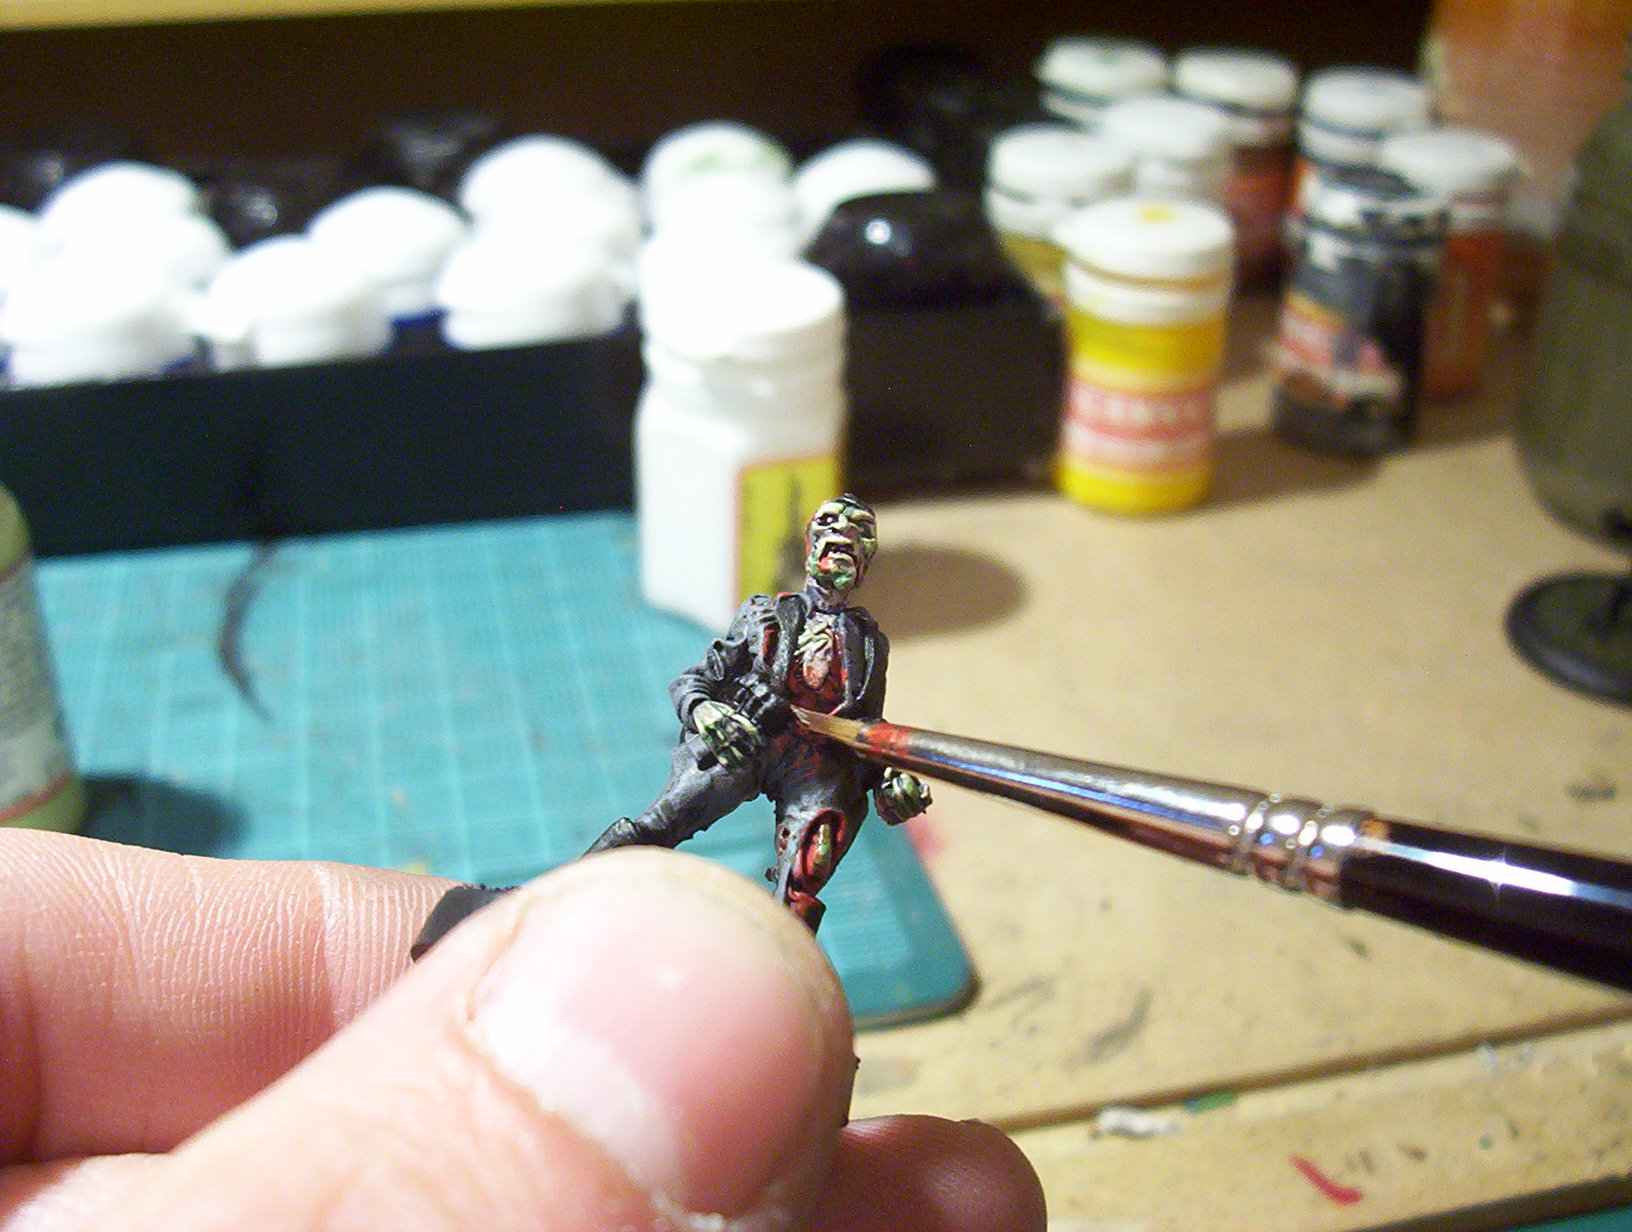
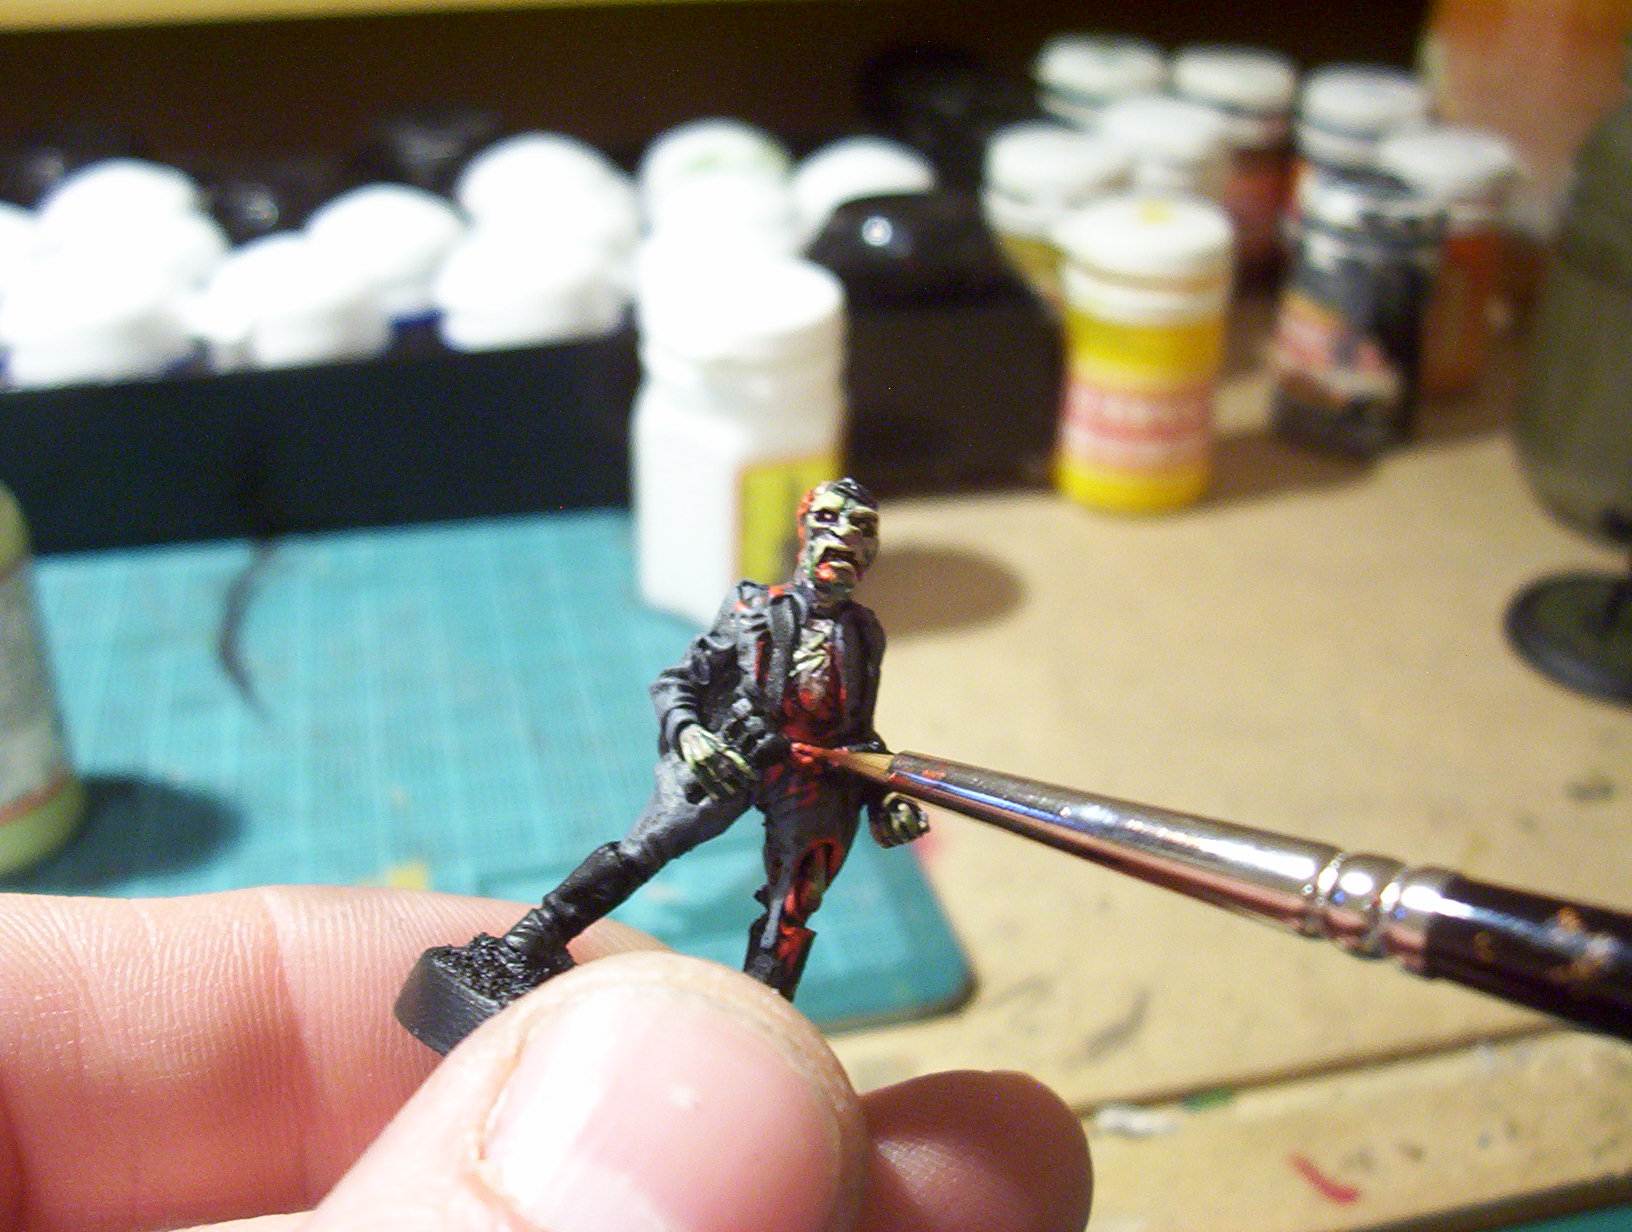
Blood
Yup this is probably the most fun part.
Adding gore to your flesh eating horde could not be easier. Simply takes some neat dark red paint and
put it where it makes sense to. Mouths, wounds, grasping hands and spilled entrails are good places.
To highlight take some neat bright red paint and paint inside the boundaries of the darker shade.
This will really make the blood pop.
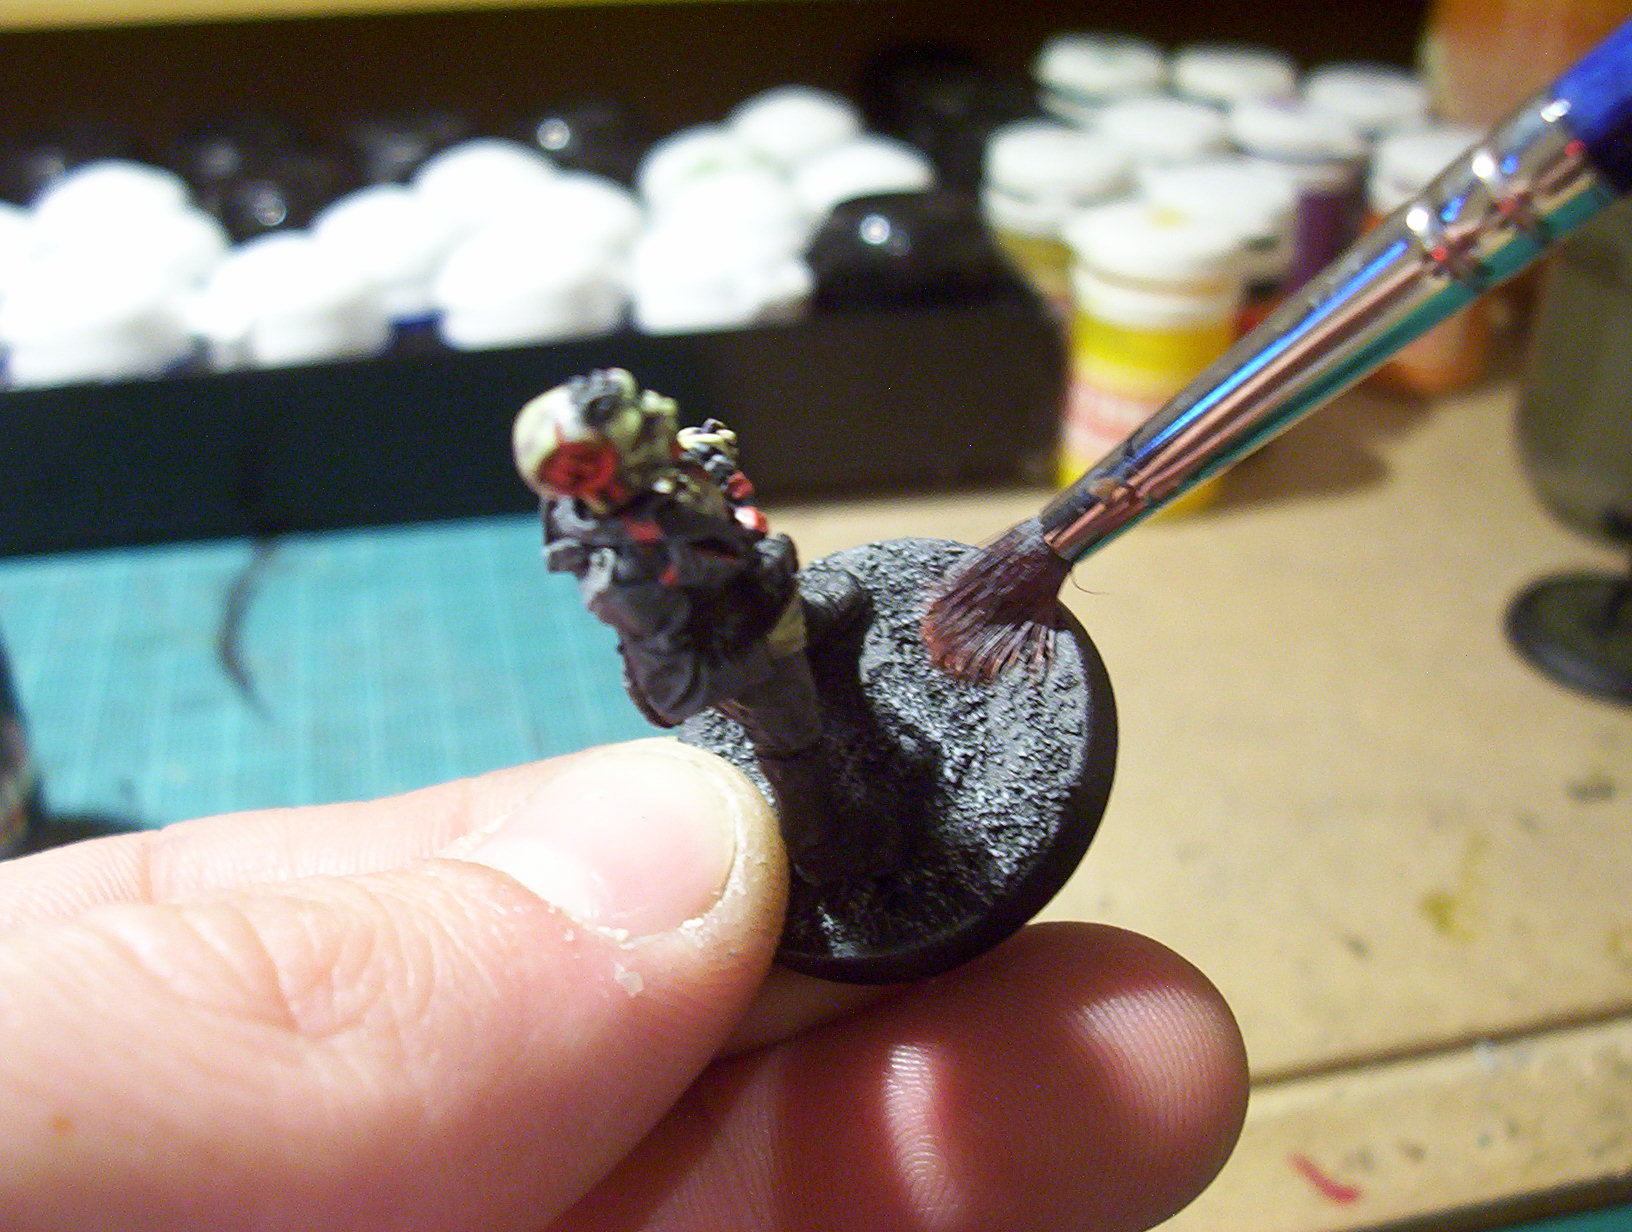
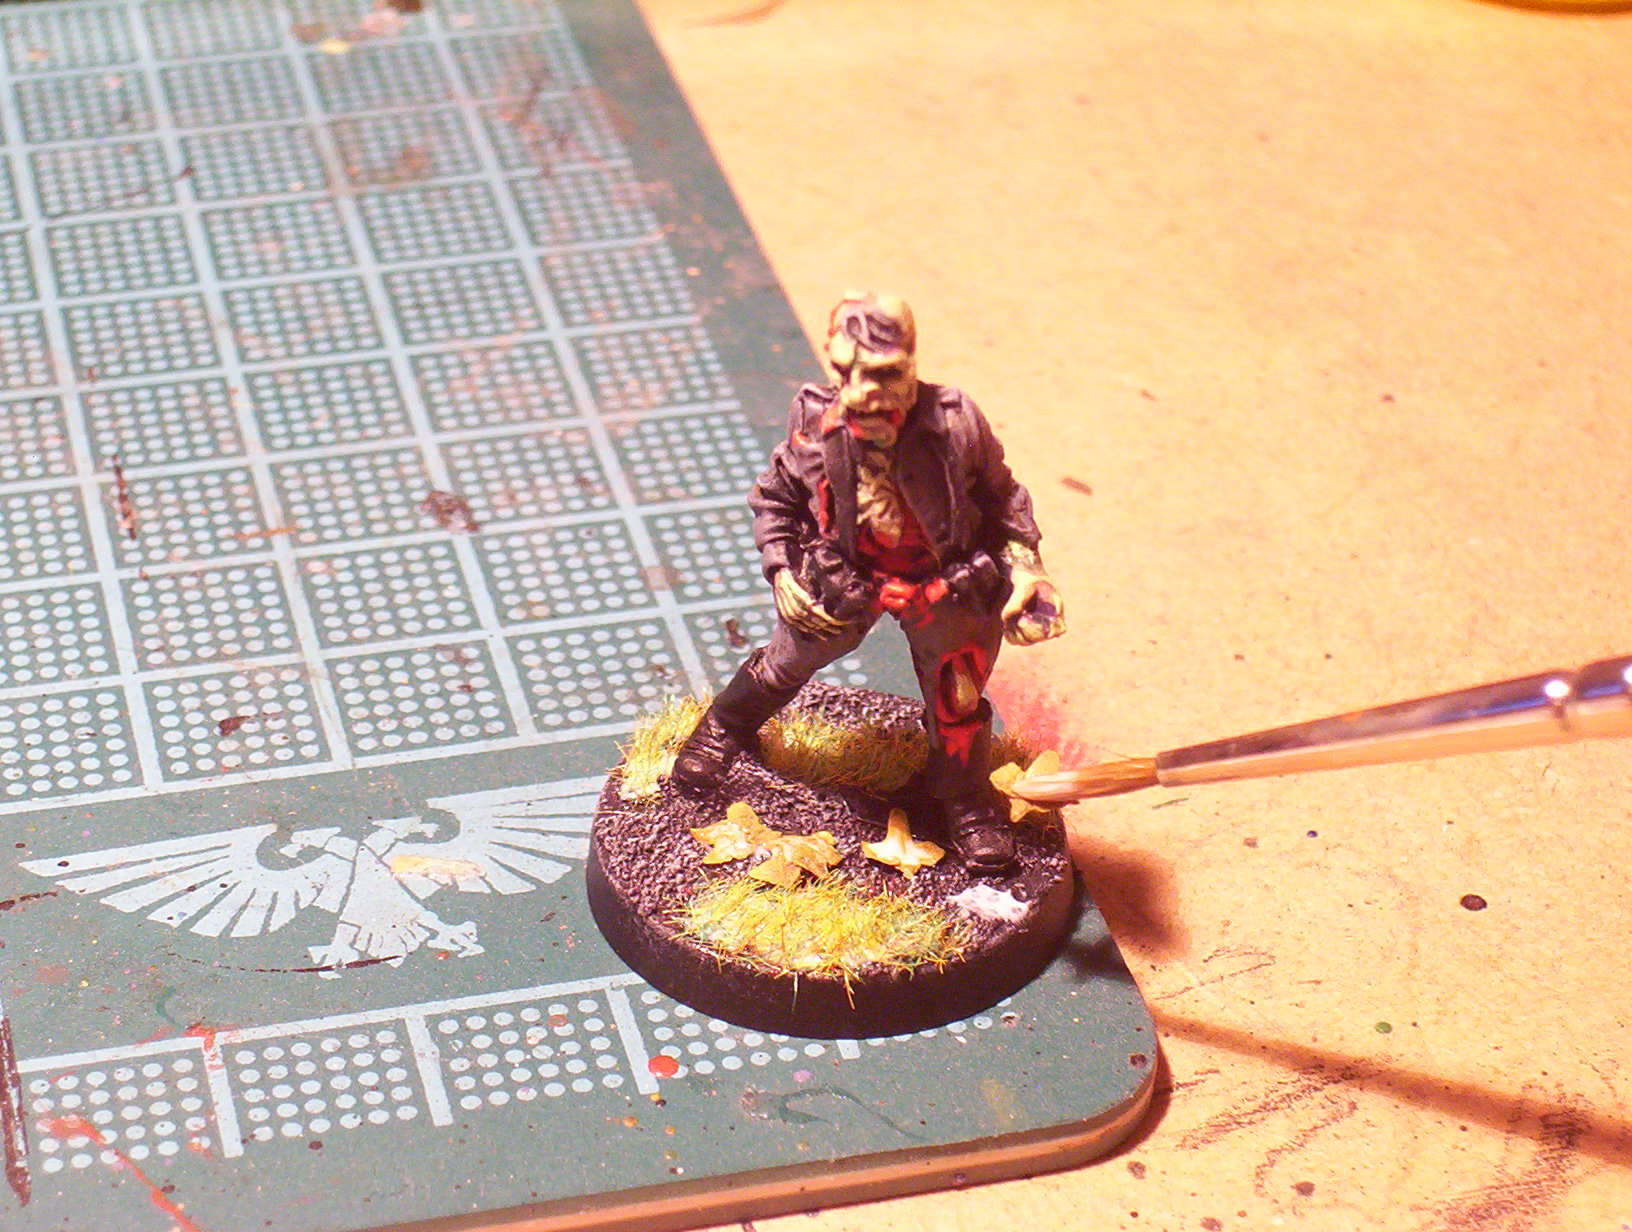
Basing
Ok you’re almost done, all you have to do is base the models and you’re on your way to raising hell
on the battlefield.
To base these model couldn’t be simpler, because we added the basing material earlier all we have to
do is add some colour and flock and we are good to go.
Take an earthy colour and drybrush it onto the base.
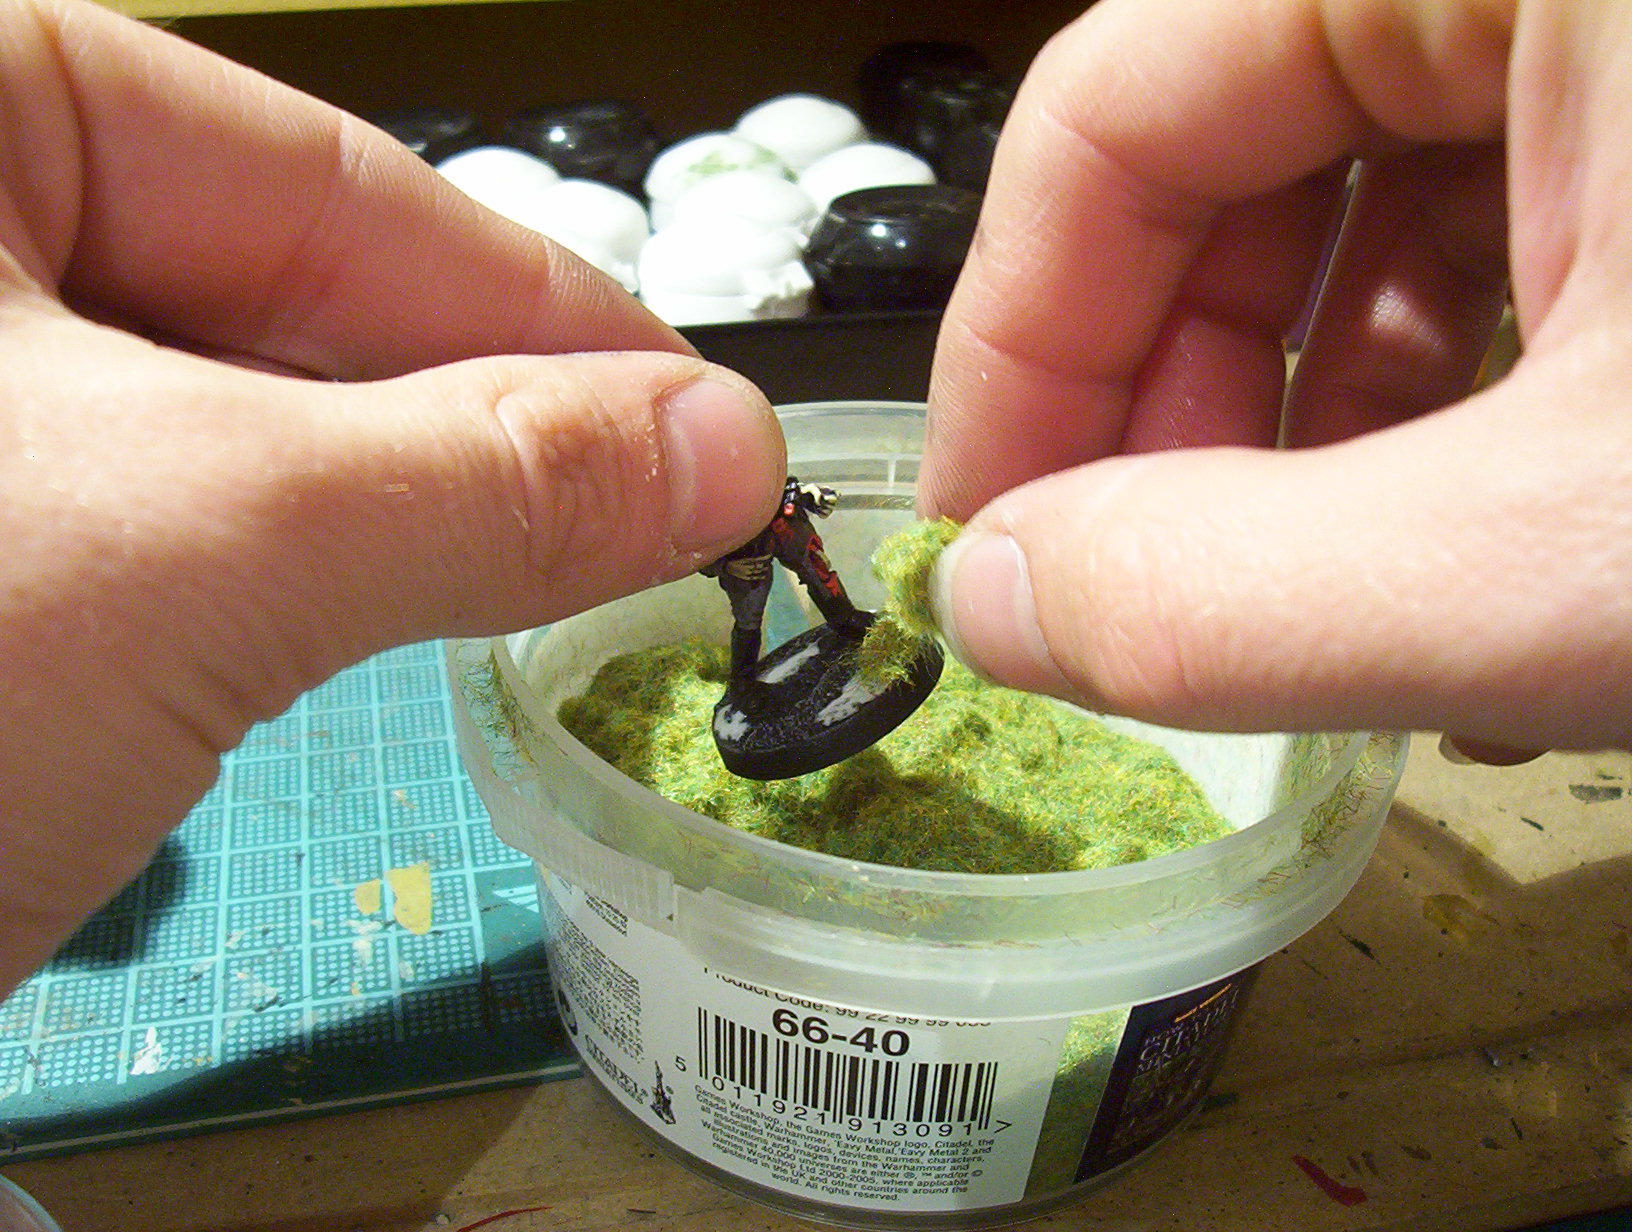
Once all 20 are done paint some PVA onto the bases and add your flock. I chose static grass but really
what ever fits for your gaming table.
I also added some tiny leaves which can be bought from a few online miniature retailers and at shows.
Paint pve onto the base where you want the leaves, then with the remaining pva on your brush pick up
a leaf and apply it to the patch of glue.
That’s it. You’re done.
You should now have 20 flesh eating Germans or whatever you painted in front of you.
Give yourself a pat on the back. Wasn’t that bad was it?
Have fun trying this and keep on painting.
Paul.